Bitcoin's 4 MB block limit and ~400 KB per transaction standard might sound like simple technical constraints, but they determine what can and cannot live onchain. Every inscription must fit within those size requirements. For some time these limits determined the creative culture around Ordinals, pushing artists towards compressionism, minimalism, or choosing a different form of expression altogether.
While constraints can boost creativity, they can also ostracise certain art forms or file types, and push some artists away, or force them to inscribe low fidelity versions of their art. There are a number of examples of major collections that use very small and low res onchain images while providing high resolution versions offchain only (if at all).
Pixel art, generative art and a few other forms of art that only require lightweight files can of course generate high resolution outputs onchain pretty easily. But storing large files on Bitcoin is not as straightforward, and it remains a niche approach which I deconstruct in this article.
If you're generally unfamiliar with inscriptions, ordinals or recursion, start here:
How To Ordinals: a short guide for artists and future inscribooors
How it started
One way to put large files on Bitcoin is to inscribe "4-meggers", which a select few inscribooors still turn to every now and then. These, as of today, require direct cooperation with miners to be included in a block. They're considered the "purest" form of large file inscriptions because they preserve artworks as a single, complete image or file, but at high cost and still with a hard cap on size – anything above 4 MB is impossible in a single inscription.
With recursion, introduced in June 2023 by @rodarmor, new possibilities emerged. Builders and artists began to explore how multiple inscriptions could reference one another and render as a single result, which opened the door to countless creative possibilities. Many collections, from pioneers such as @OnChainMonkey to generative art and pfp projects, began inscribing shared resources separately, code libraries or single attributes, which could then be reused over and over again.
The underlying mechanism, recursion, is the constant, but different projects use it in different ways. Some reuse shared libraries and assets, others compose new outputs from pre-inscribed attributes (or other existing inscriptions). Then there's reconstruction, which we focus on here.
Reconstruction consists in breaking down large files into smaller fragments, inscribing them separately, then finally reassembling them onchain with recursion.
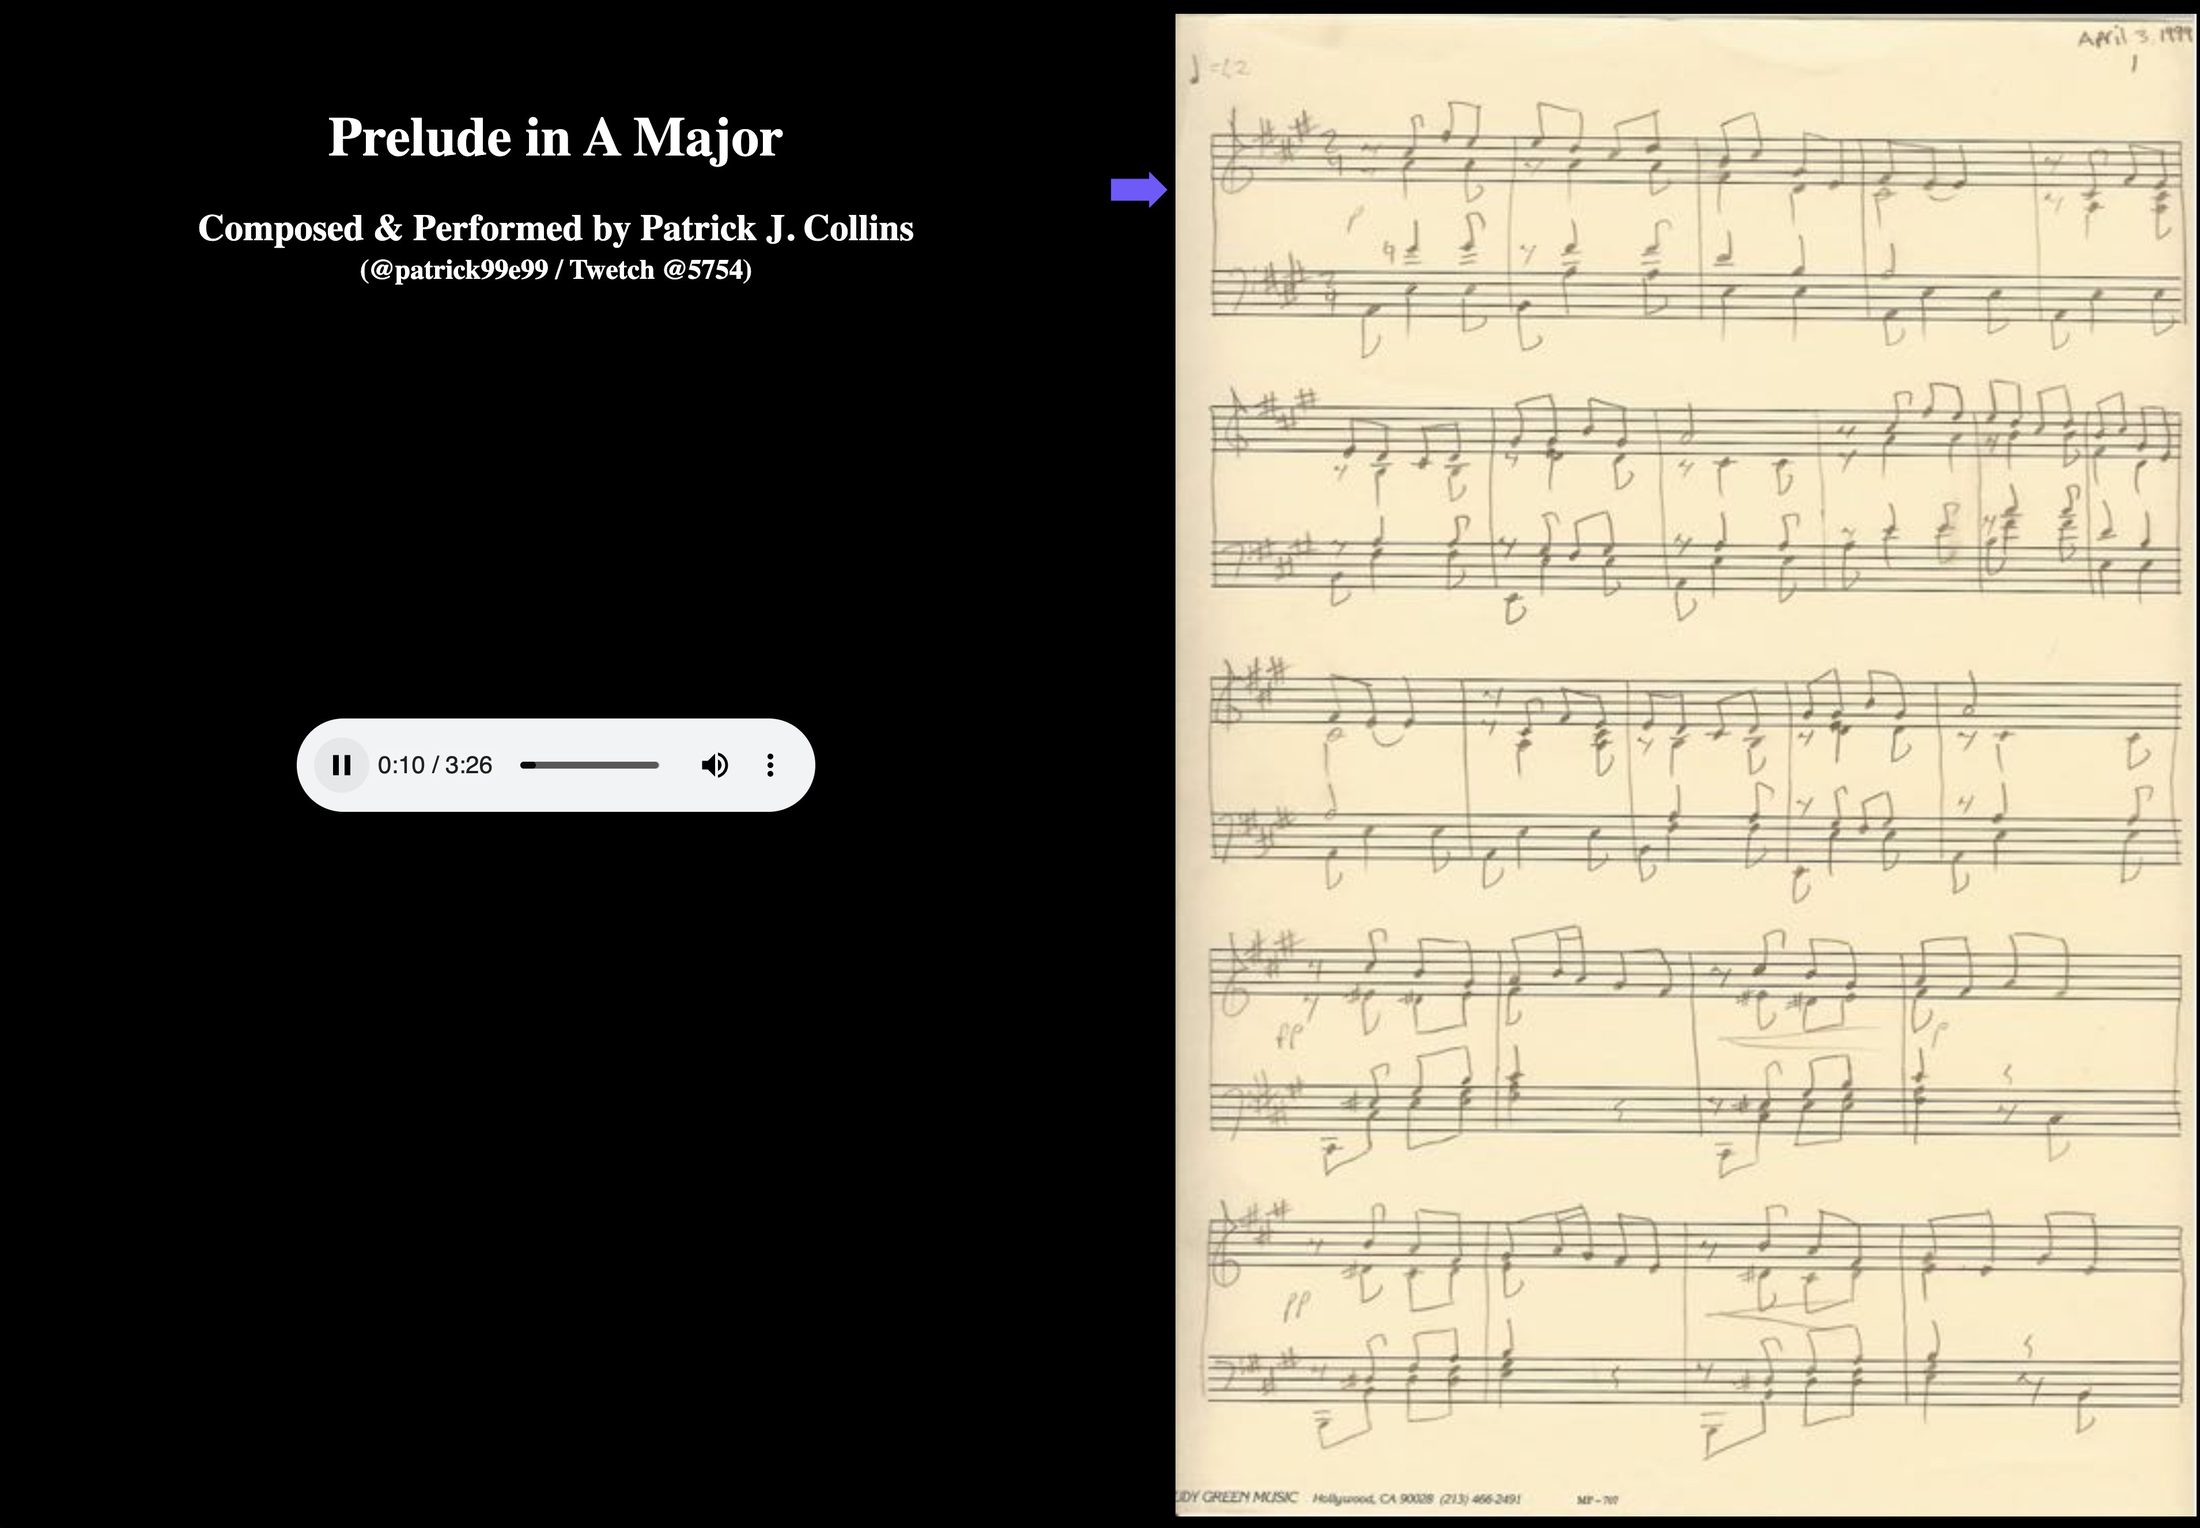
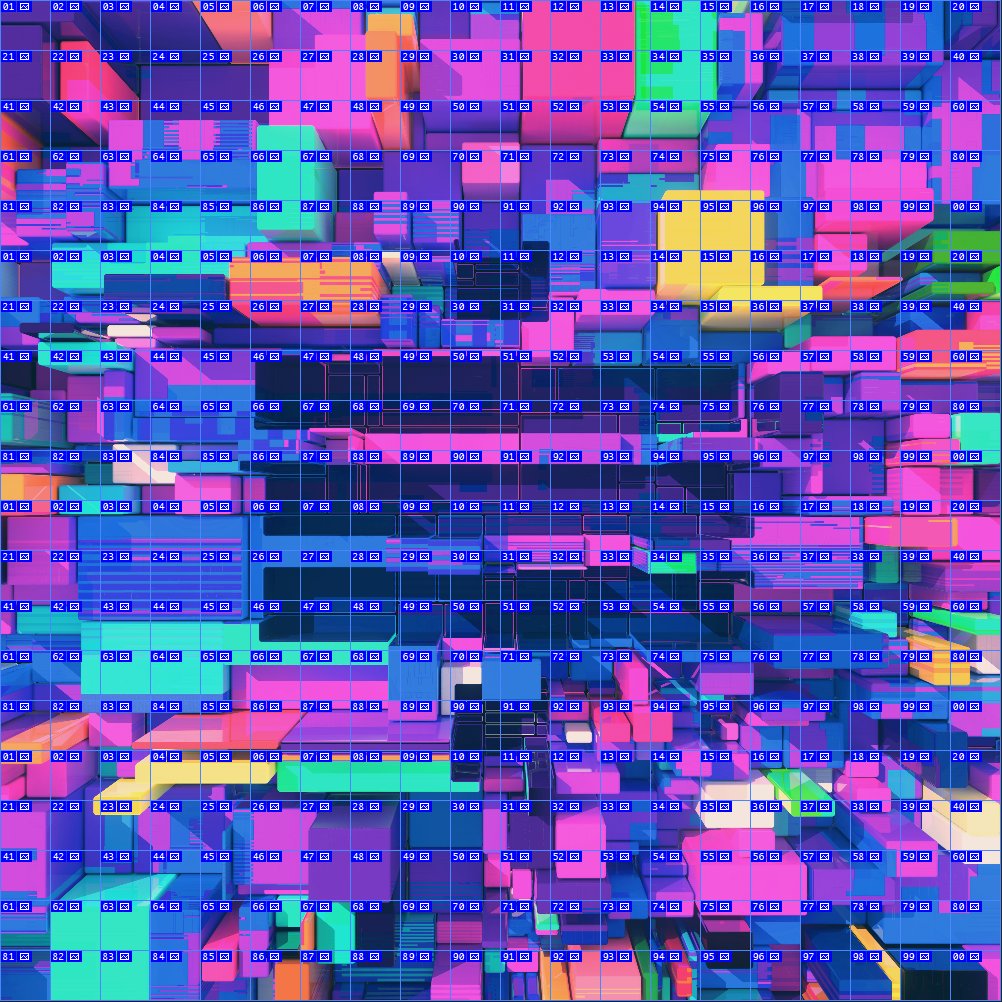
Early experiments of this idea included Patrick Collins' Prelude in A Major (an interactive piano piece), Billy Restey’s Metablocks (a recursive 256 megapixel artwork reassembling 400 fragment inscriptions), XSULLO’s high resolution Les Petites Morts GIFs (NSFW), or Elocremarc’s high definition video Time Perception, among a wave of trailblazing explorations (see references at the end of the article). In turn, they led to the creation of tools and open-source libraries to support this approach.
By late 2023 and early 2024 stitching had moved from proof of concept to established method. Artists could build virtually any form of media on Bitcoin, even if it exceeded traditional size limits.
These techniques have remained somewhat niche due to costs and technical requirements. But in a low-fee environment and with a maturing ecosystem, it may be time to revisit them.
It's not so much about whether it’s technically possible or not, but more importantly about adopting a philosophy that preserves quality, complexity, nuance, and of course legacy on a medium that's designed for permanence.
High fidelity as a philosophy
In photography, video, sound, AI, and any art form that produces heavy files, resolution is usually essential. Contemporary standards outside of Bitcoin have pushed file sizes and expectations way upward. The challenge is to meet those expectations while staying within the rules of the chain.
Some artists choose compressionism, finding ways to preserve perceived resolution through compression, resizing, colour management, etc. Others search for beauty in restraint and low fidelity. There's also using Bitcoin as a canvas for generative systems and algorithmic work, which generally require much lighter files.
The approach presented here sees value in maintaining full fidelity to the original work, preserving detail, texture and resolution when they are part of the message. A high resolution photograph or densely detailed collage recorded faithfully on Bitcoin just feels right.
If the chain serves as a permanent "store of culture" solution, then the art placed on it should receive the same care as archival photography or museum-grade printing. To immortalise a work in low fidelity is often to lose part of its essence. I believe that in some cases legacy justifies both costs and time.
In my own practice
For my first high res experiments, I tested the tools available at the time but quickly realised that I needed more control over fragment count, resolution, compression, and provenance. I also wanted the viewer, the small HTML file that reassembles and displays the piece, to behave consistently on all marketplaces, indexers, and digital frames, with custom interactive features.
Impressions of Form : Low Res No More
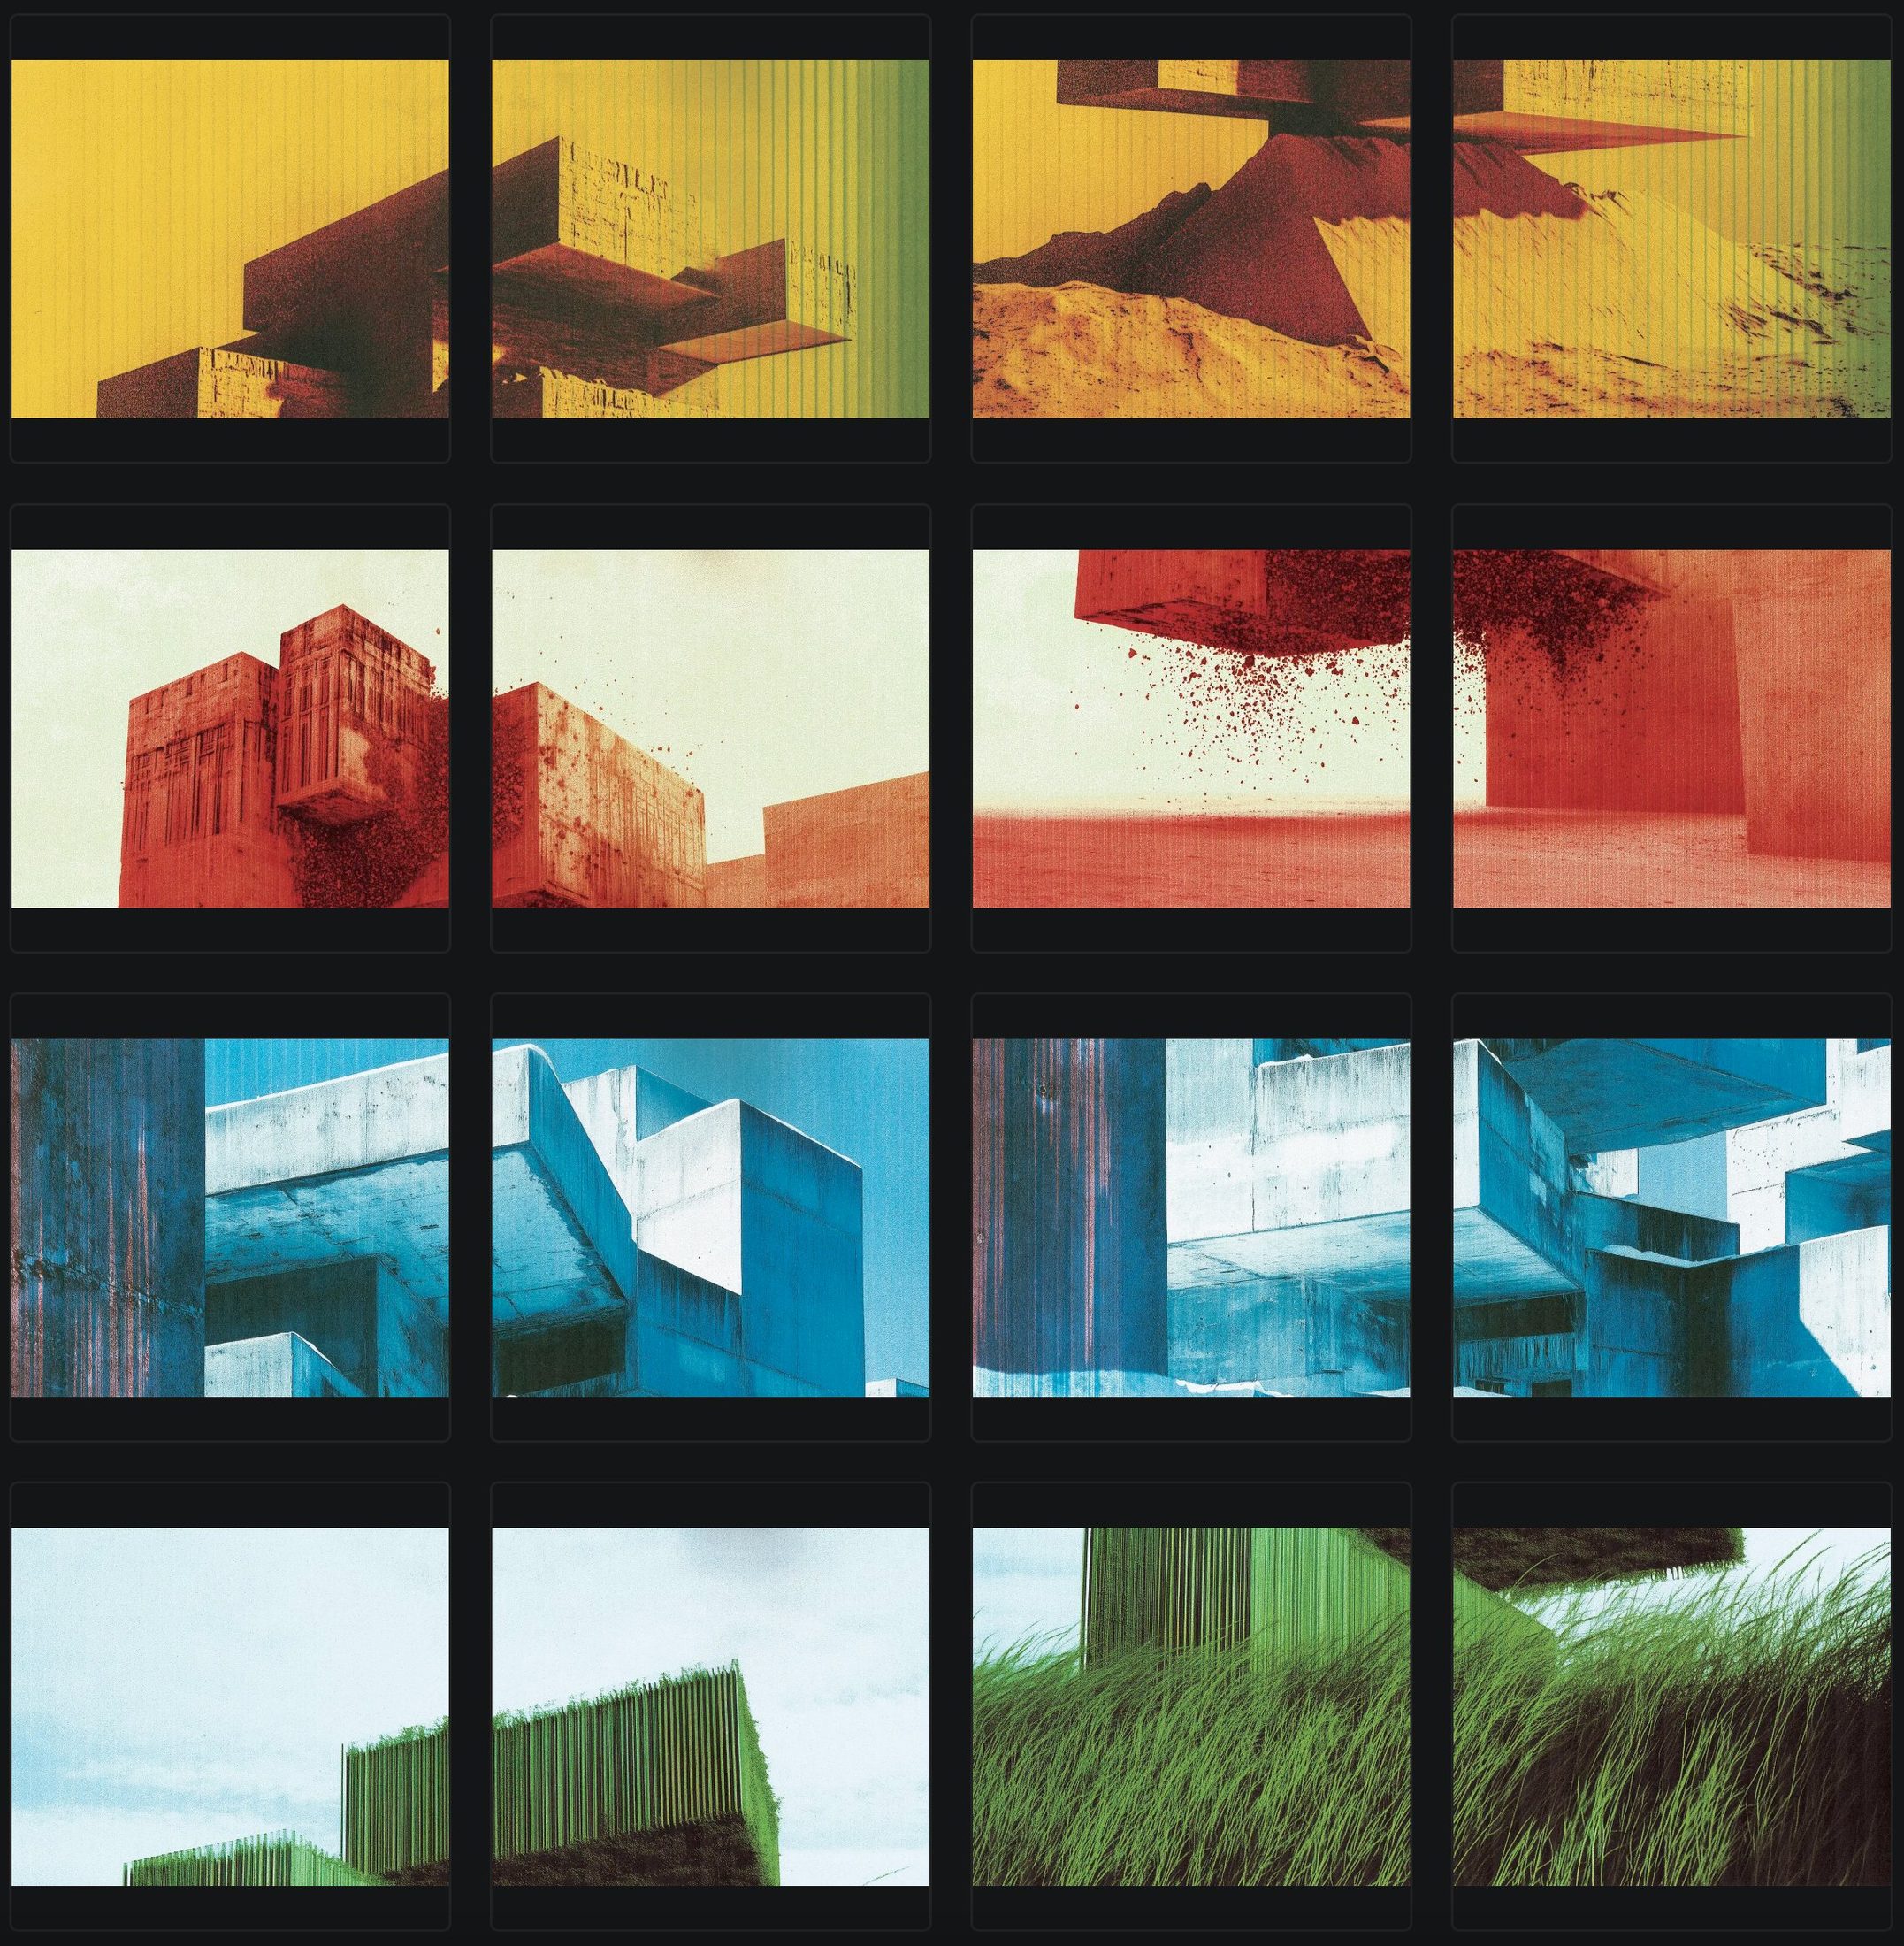
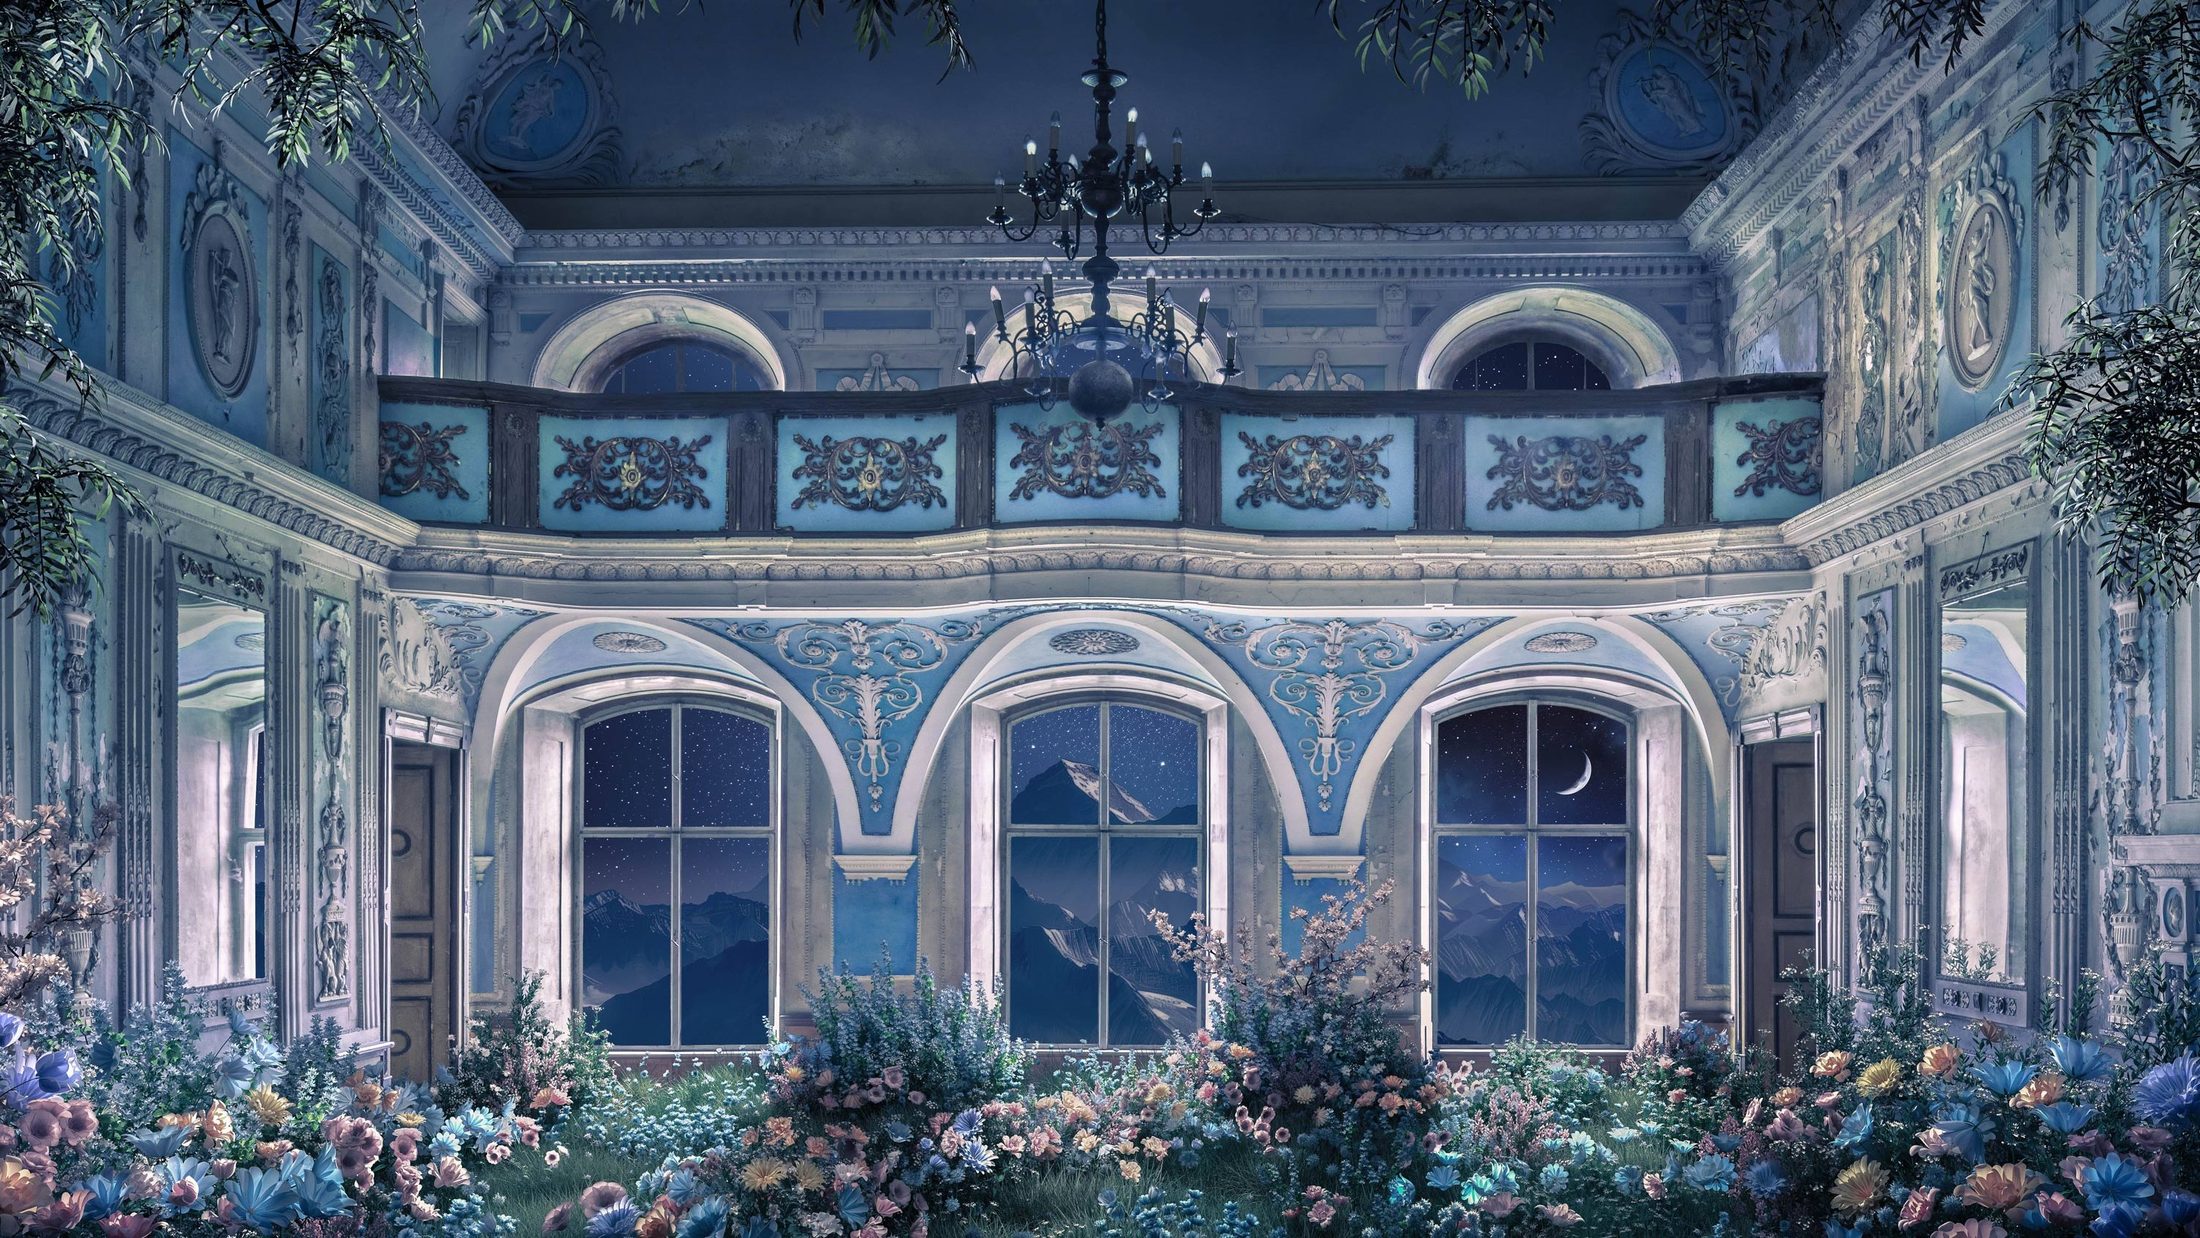
Impressions of Form was the first project where stitching became essential to me. The series consists of four architectural collages where texture is central to the work. Each piece began as a digital composition, was printed using printers with low ink levels to create physical imperfections, and finally rescanned at high DPI. Preserving that physical-digital crossover texture onchain mattered to me the most. The fragments amounted to approximately 1 MB of inscriptions per artwork (WEBP fragments + HTML), while the final stitched outputs are detailed, textured 7 MB PNGs, that can be fully viewed online and downloaded from the chain directly.
Non Finito : Fragmentation as Creative Material
With The Builder, first piece in my Non Finito series, fragmentation and stitching became more than a preservation method for me. I used it to achieve complete control over every tile. The artwork is made of 45 pre-inscribed fragments, each with parameters and probabilities I adjusted independently to obtain this unfinished feel exactly how I wanted it. Just as the builder emerges from a block of stone, I wanted the lower parts of the image to have higher probabilities of blur and pixelation than the top ones, and the tiling allowed me to iterate on that extensively. Visually, it also made a lot of sense, mimicking incomplete renders where some areas are fully rendered while others stall mid-process. The script included instructions that mirrored these conceptual choices in the reconstruction process.
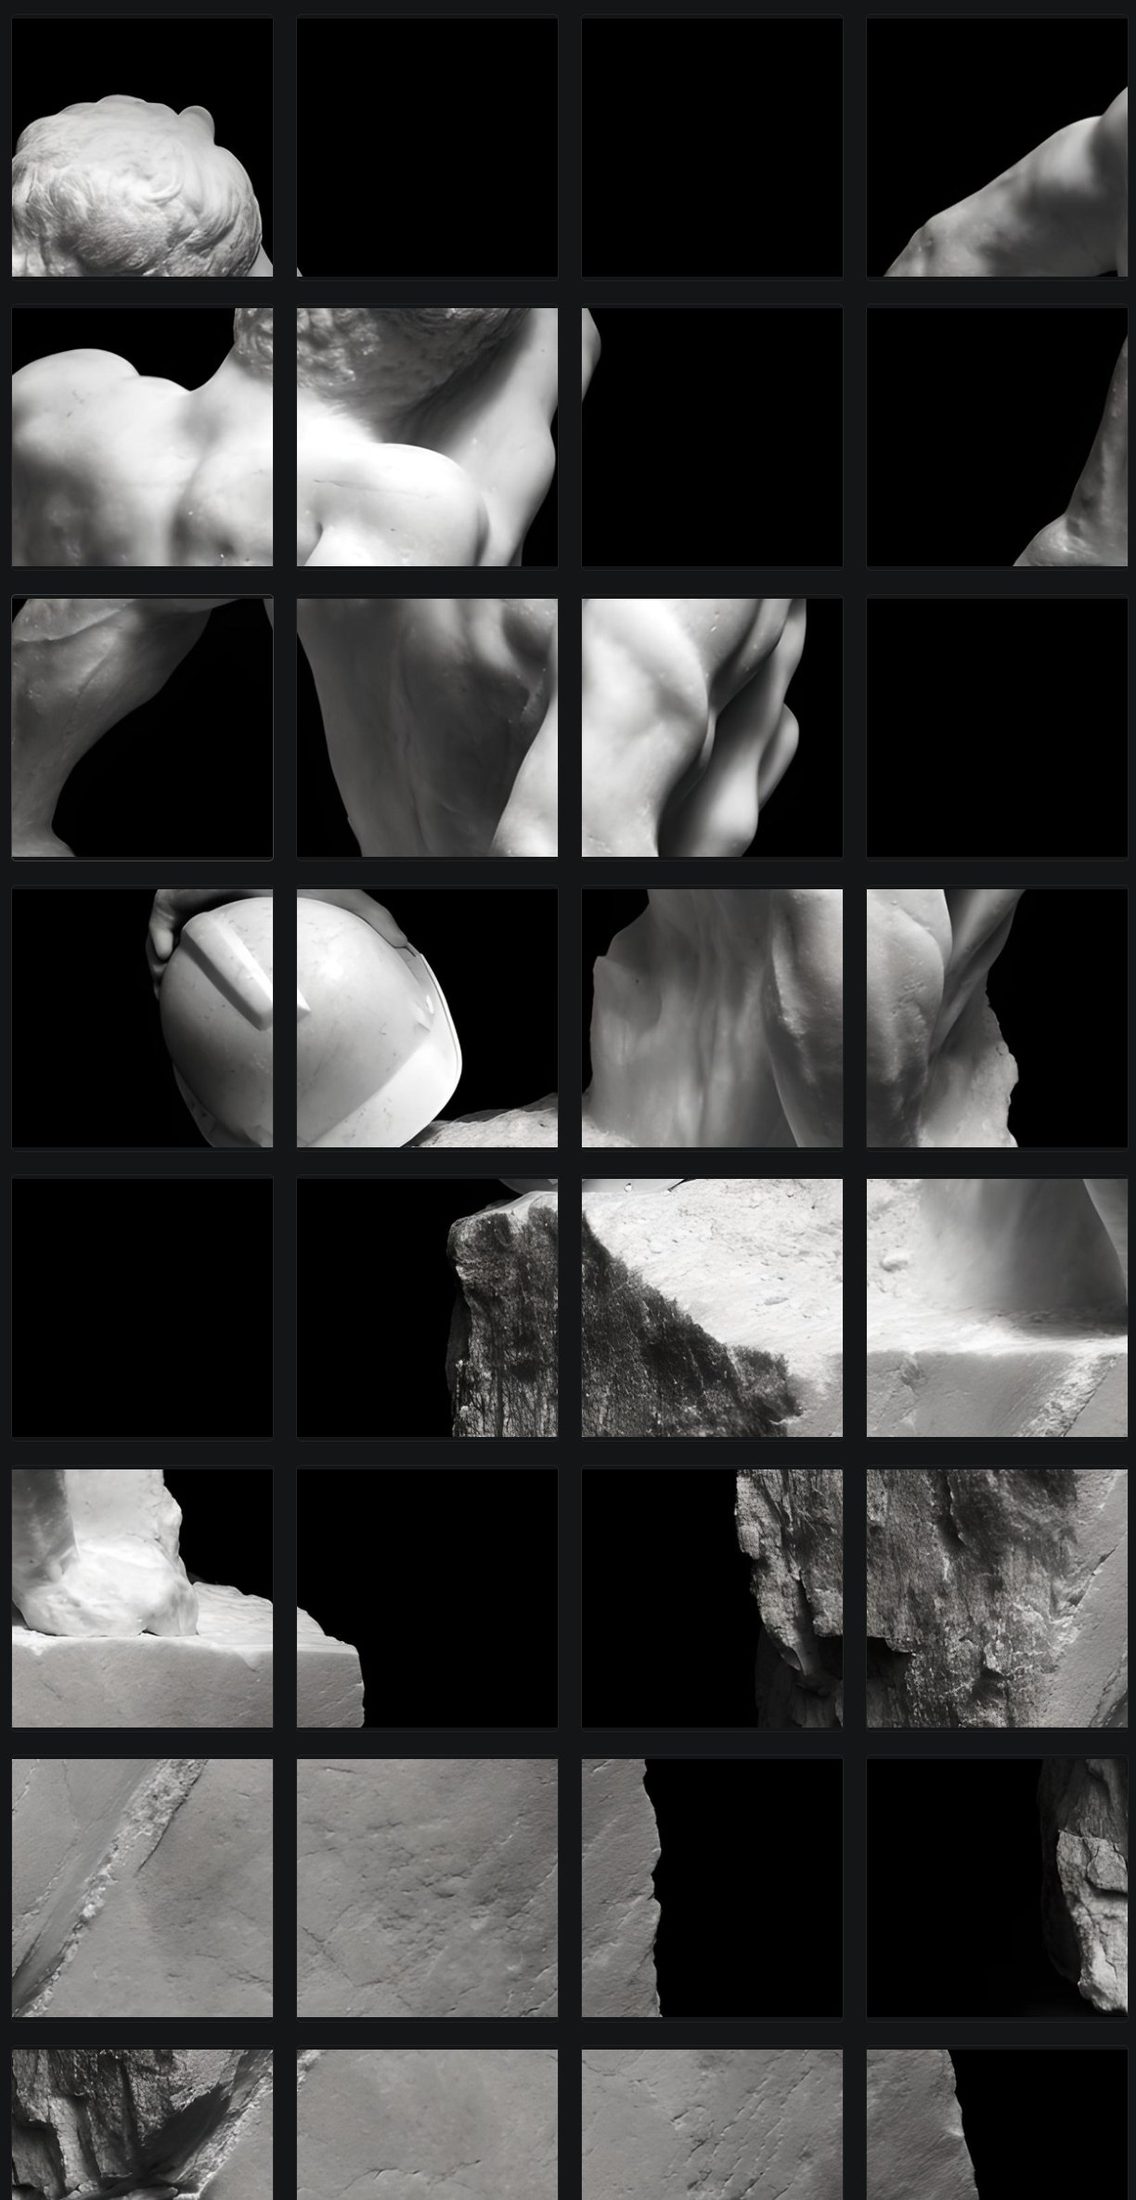
This series also brought custom UIs to the table. Unlike Impressions of Form, Non Finito pieces come with an integrated menu. Anyone viewing the artwork can trigger re-renders that shift and evolve, extending the non finito idea into a participative experience.
In the second chapter of the series, the Underpainting piece uses a second approach, binary data stitching, where the file's raw data is sliced rather than the image (method B below). Once the underlayer is reconstructed, it's combined with generative overlays and Bitcoin block info (fetched through recursion as well), and is also the source for content-dependent digital painting. It acts as a true underpainting layer over which the code generates additional paint strokes, thus mimicking irl processes in an algorithmic way. In the spirit of the series, there is no finished state, the outputs are never the same, and viewers participate in keeping it ever-changing and incomplete.
I will expand on the Non Finito series in another article, but the idea here is that stitching can be used as a starting point to aesthetic and conceptual decisions that go beyond technical storage solutions. The stitching process means your final artwork is code you can infinitely customise, from simple reassembly to the boldest of ideas.
Methodology
The next few sections give technical advice and code templates. If you only want the general idea without the detailed walkthrough, feel free to skip to Outlook and References.
The following methods and templates are based on my own work and research. They're a starting point, not the only way to do it.
There are two main approaches to stitching. Both rely on the same principle but offer different advantages. One uses visual fragments while the other slices the file's binary data itself.
General method:
- Prepare the files
Divide the artwork/file into fragments under 400 KB (see Preparing the fragments below). - Inscribe each fragment separately (or reinscribe them on a single sat)
- Create a stitching script
This script handles recursion, fetches fragments, places them in order, and (if relevant) applies any creative logic or UI functions. - Create an HTML viewer
This defines layout and presentation, and connects UI elements to the script. The script can be embedded directly or imported from a separate inscription. In the examples below, the scripts are embedded. - Inscribe the viewer (referencing the script if separate)
This becomes the final artwork that reconstructs the fragments onchain.
A/ Visual fragments -> JS stitching script -> HTML viewer
In short, an image, video or gif is sliced into fragments, tiles, or frames which are then reassembled with recursion. The fragments are visible onchain and can be archived or kept together with the html viewer by reinscribing everything on the same sat. This method gives you more visual control over each fragment, frame, tile or source material, that can be individually processed through code in a creative way. It can also let you distribute the fragments individually. Someone may own a fraction of the image, it opens up economic and community-focused possibilities.
<!doctype html>
        <html>
        <head>
        <meta charset="utf-8">
        <meta name="viewport" content="width=device-width,initial-scale=1">
        <style>
          html,body{margin:0;background:#000}
          canvas{display:block;width:100vw;height:100vh;object-fit:contain}
        </style>
        </head>
        <body>
        <canvas id="canvas"></canvas>
        <script>
        const COLS=2, ROWS=2;
        const FRAG_IDS=[
          "<FRAGMENT_ID_0>",
          "<FRAGMENT_ID_1>",
          "<FRAGMENT_ID_2>",
          "<FRAGMENT_ID_3>"
        ];

        const load=id=>new Promise(done=>{
          const img=new Image();
          img.onload=()=>done(img);
          img.src=`/content/${id}`;
        });

        Promise.all(FRAG_IDS.map(load)).then(fragments=>{
          const tw=fragments[0].naturalWidth, th=fragments[0].naturalHeight;
          const canvas=document.getElementById("canvas");
          canvas.width=tw*COLS;
          canvas.height=th*ROWS;
          const ctx=canvas.getContext("2d");
          fragments.forEach((fragment,i)=>ctx.drawImage(fragment,(i%COLS)*tw,Math.floor(i/COLS)*th));
        });
        </script>
        </body>
        </html>
The above is a complete, self-contained image viewer, meaning one HTML file and one inscription. It's the most generic form of the method. To adapt it to your own work, you only need to change two things, the grid dimensions (COLS, ROWS) and the list of fragment IDs.
The file has three parts.
The <style> block takes care of presentation (more on that in HTML viewer planning below), the <canvas> line puts an empty surface on the page, and the <script> block does all the reconstruction work. It lists the fragment inscription IDs in reading order (left to right, top to bottom), gets them through the recursive /content/ endpoint, waits until they have all arrived, sizes the canvas to the full image, then places each tile where it belongs. What you get is a single full resolution image.
To be precise, the fragments and the viewer live onchain, while the reassembly itself happens in the browser of whoever views the piece, every time.
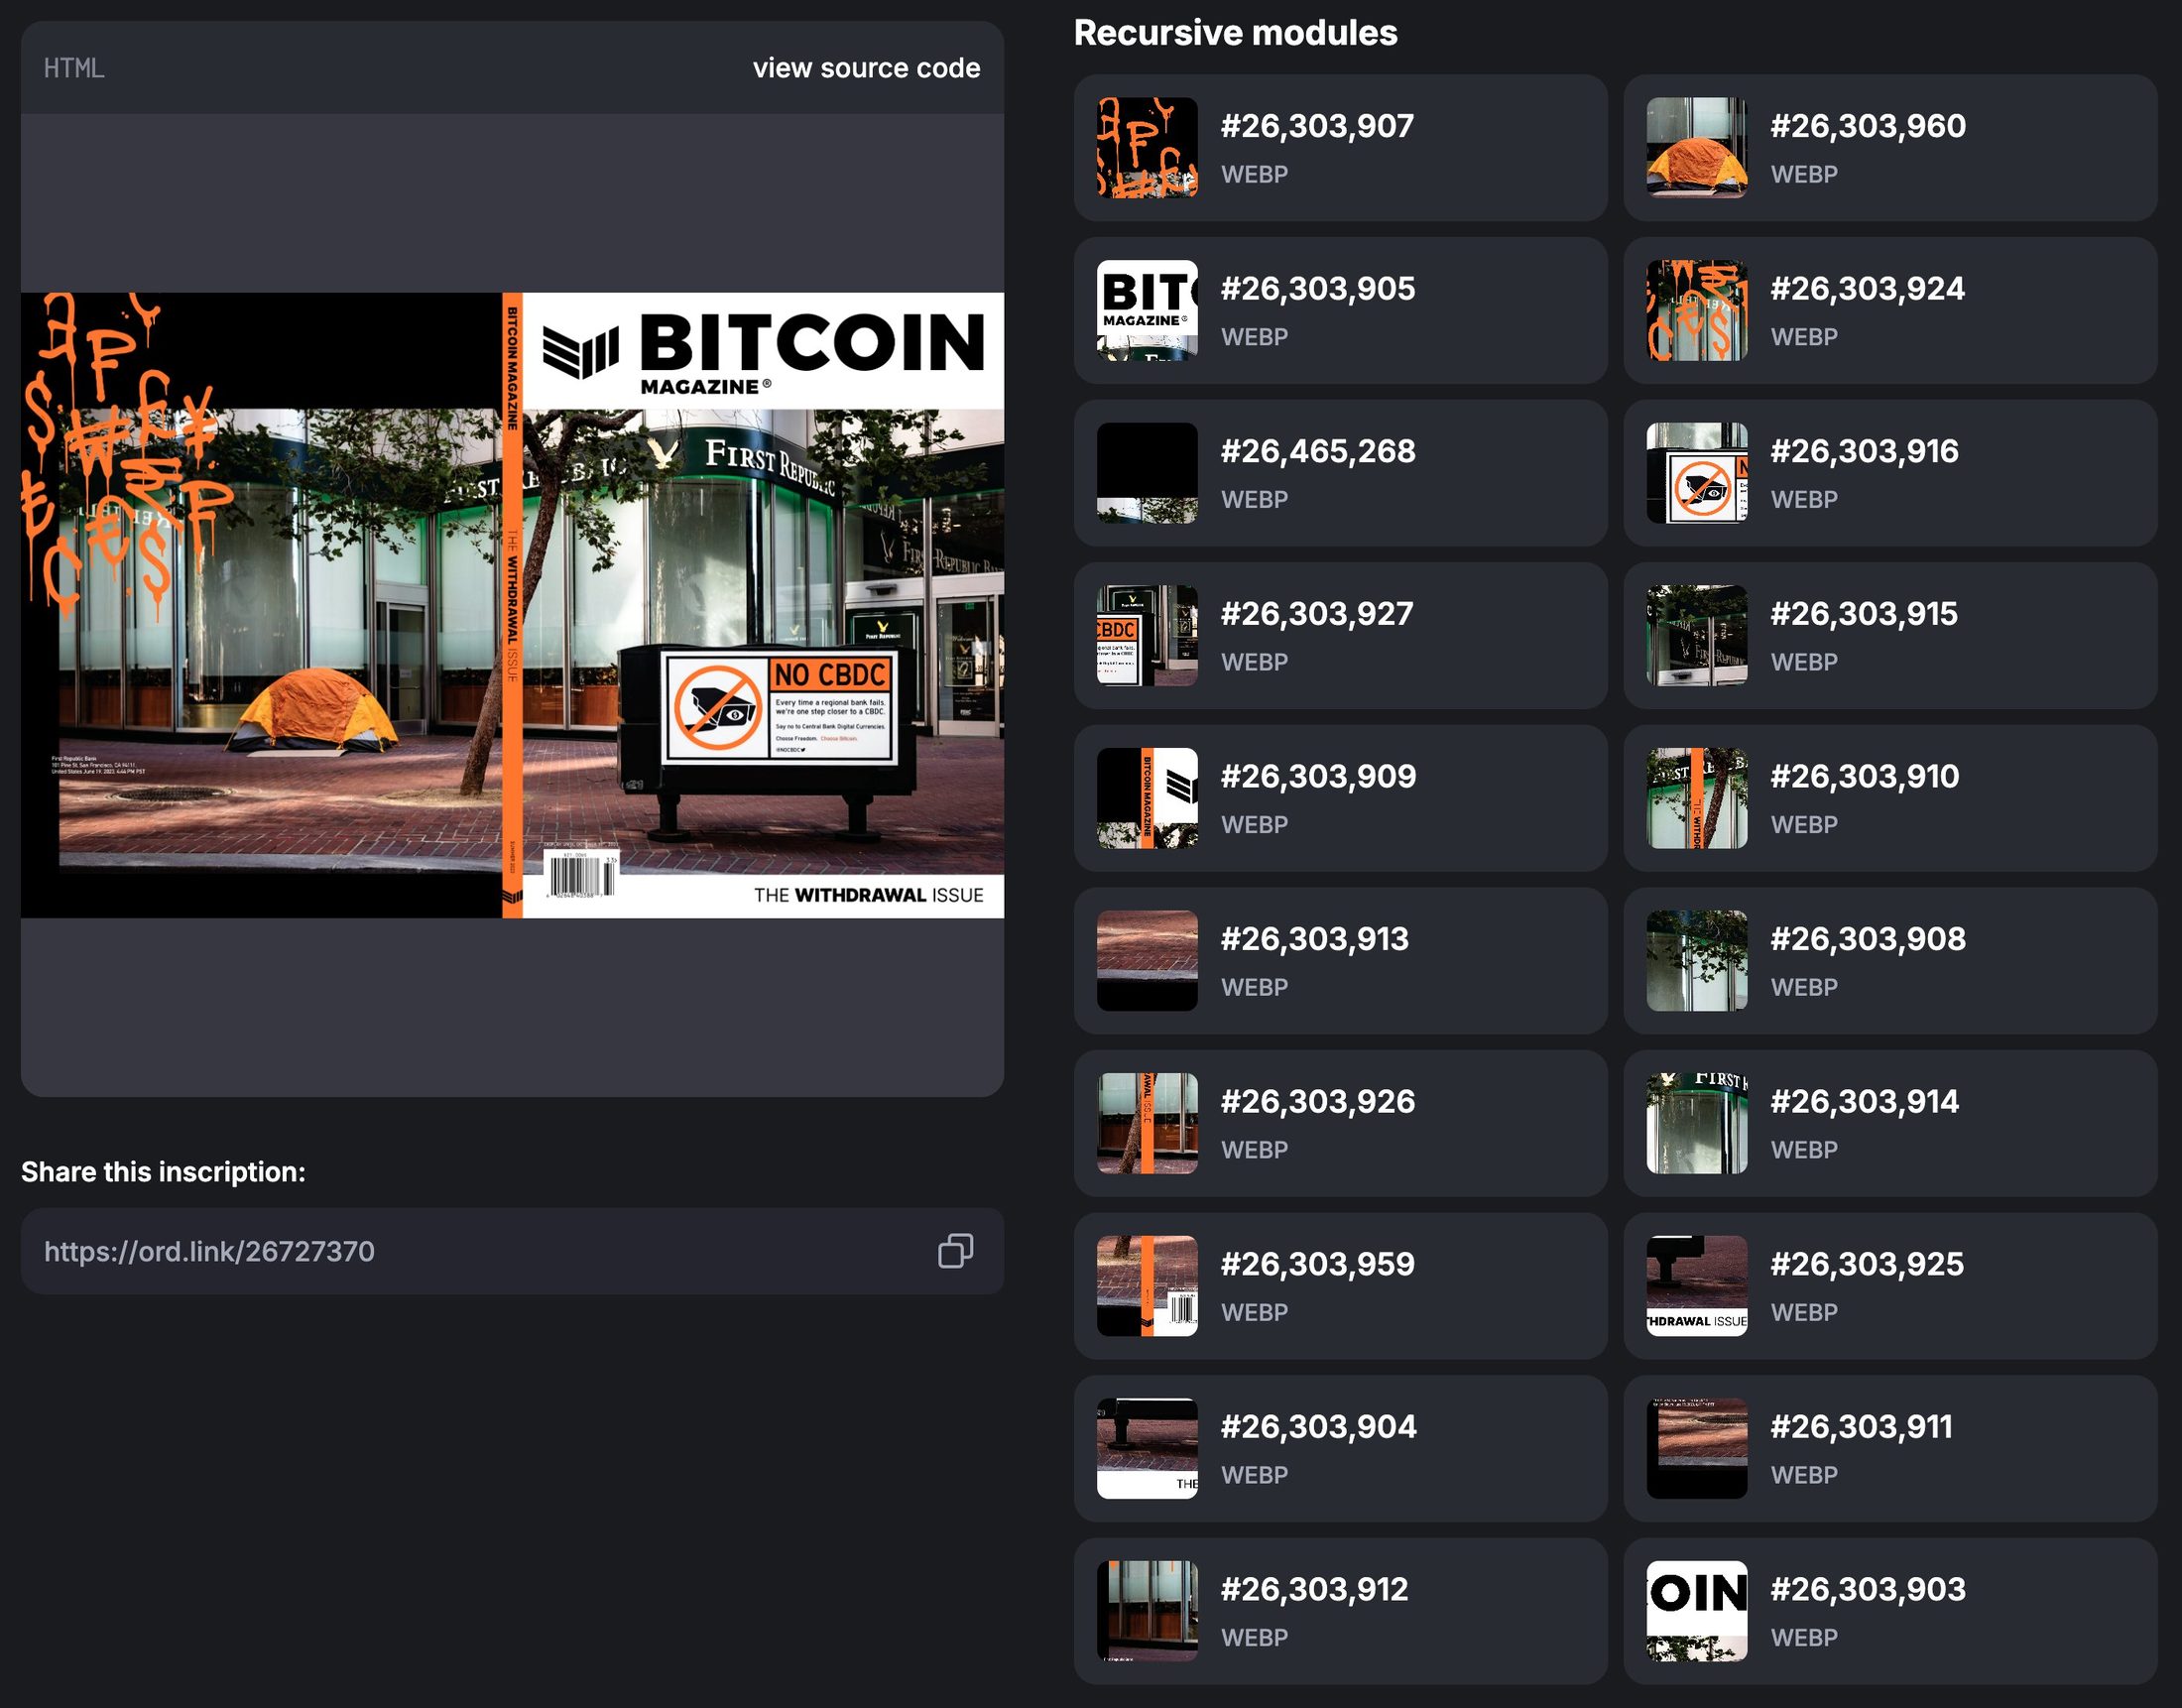
The canvas is what makes the image whole, not just visually but as an actual file that can be saved at full size with a right-click (as a PNG). Some early experiments, like Bitcoin Magazine's cover or Metablocks, skip it entirely and simply position the tiles side by side with HTML and CSS. It looks the same on screen, but the tiles remain separate images.
In our example, tile size is read automatically from the first fragment. This code assumes all your tiles are the same size. More advanced uses, such as processing each tile differently or adding interactive features, build on the exact same base.
Variations of Method A: GIF, video and audio
The A method isn't limited to still images, and the same loading logic can be applied to GIFs, audio and videos, with small changes to what happens once the fragments have arrived. It's worth knowing though that if you want a true GIF, audio or video file onchain, one that plays by itself and can be saved whole in its original format with a right-click, method B is the way to go, since it rebuilds the original file. That said, with method A, every fragment is a visible inscription of its own, which can be great for various reasons mentioned earlier. And you can always add an encoder or additional download options in your code.
GIF. Each frame is inscribed as an image, and the script displays them one after another, in a loop. FPS sets the speed in frames per second. The result looks and behaves like a GIF, but technically it's an animation played by the code, not a GIF file, so a right-click will only save the current frame.
<!doctype html>
        <html>
        <head>
        <meta charset="utf-8">
        <meta name="viewport" content="width=device-width,initial-scale=1">
        <style>
          html,body{margin:0;background:#000}
          canvas{display:block;width:100vw;height:100vh;object-fit:contain}
        </style>
        </head>
        <body>
        <canvas id="canvas"></canvas>
        <script>
        const FPS=12;
        const FRAG_IDS=[
          "<FRAGMENT_ID_0>",
          "<FRAGMENT_ID_1>",
          "<FRAGMENT_ID_2>",
          "<FRAGMENT_ID_3>"
        ];

        const load=id=>new Promise(done=>{
          const img=new Image();
          img.onload=()=>done(img);
          img.src=`/content/${id}`;
        });

        Promise.all(FRAG_IDS.map(load)).then(fragments=>{
          const canvas=document.getElementById("canvas");
          canvas.width=fragments[0].naturalWidth;
          canvas.height=fragments[0].naturalHeight;
          const ctx=canvas.getContext("2d");
          let i=0;
          setInterval(()=>{
            ctx.clearRect(0,0,canvas.width,canvas.height);
            ctx.drawImage(fragments[i],0,0);
            i=(i+1)%fragments.length;
          },1000/FPS);
        });
        </script>
        </body>
        </html>
If a single frame is too large for one inscription, frames can themselves be sliced into tiles, and the script then rebuilds each frame tile by tile, combining this viewer with the previous one. Les Petites Morts is built this way, with each frame made of two tiles.
Video / Audio. I would generally recommend method B (below) for these. It restores a real video/audio file, with sound, that can be played, scrubbed and saved easily, whereas method A introduces all kinds of quirks and challenges.
For video, there are alternatives using visual fragments or frames, but each comes with caveats: clips played back to back (possible lags between clips, download issues), tiles playing side by side like A New Dawn (no guarantee they stay in sync, risk of visible seams on complex works), or frame by frame with the viewer above (no sound).
The same goes for audio. Method B restores the original file, which is what Prelude in A Major does with its MP3. A track can also be cut into short clips and merged onchain, as Ordo Sanctus by Luxas did early on, but joining them cleanly, without micro-silences between clips, often needs further programming.
With code, anything is possible, including merging fragments into single downloadable files, using onchain encoding, custom UIs and internal logic. I'm only sharing the basics, from there the sky is the limit, literally.
B/ Binary data fragments -> JS stitching script -> HTML viewer
This technique applies to any file type. The general idea is the same, but the file is handled as binary data and sliced into sub-400 KB fragments, which are then reassembled onchain into a complete file. It's straightforward raw data fragmentation rather than visual fragmentation. It covers more use cases and file types, but loses the charm of having separately visible fragments. It all depends on your use case in the end.
<!doctype html>
        <html>
        <head>
        <meta charset="utf-8">
        <meta name="viewport" content="width=device-width,initial-scale=1">
        <style>
          html,body{margin:0;background:#000}
          #media{display:block;width:100vw;height:100vh;object-fit:contain}
        </style>
        </head>
        <body>
        <img id="media">
        <script>
        const FILE_TYPE="image/webp";
        const FRAG_IDS=[
          "<FRAGMENT_ID_0>",
          "<FRAGMENT_ID_1>",
          "<FRAGMENT_ID_2>",
          "<FRAGMENT_ID_3>",
          "<FRAGMENT_ID_4>"
        ];

        const load=id=>fetch(`/content/${id}`).then(r=>r.arrayBuffer());

        Promise.all(FRAG_IDS.map(load)).then(fragments=>{
          const file=new Blob(fragments,{type:FILE_TYPE});
          document.getElementById("media").src=URL.createObjectURL(file);
        });
        </script>
        </body>
        </html>
The script downloads the bytes of every fragment, joins them back together in order, tells the browser what kind of file it is, and hands it to the page to be displayed. The reconstructed file is the original, bit for bit.
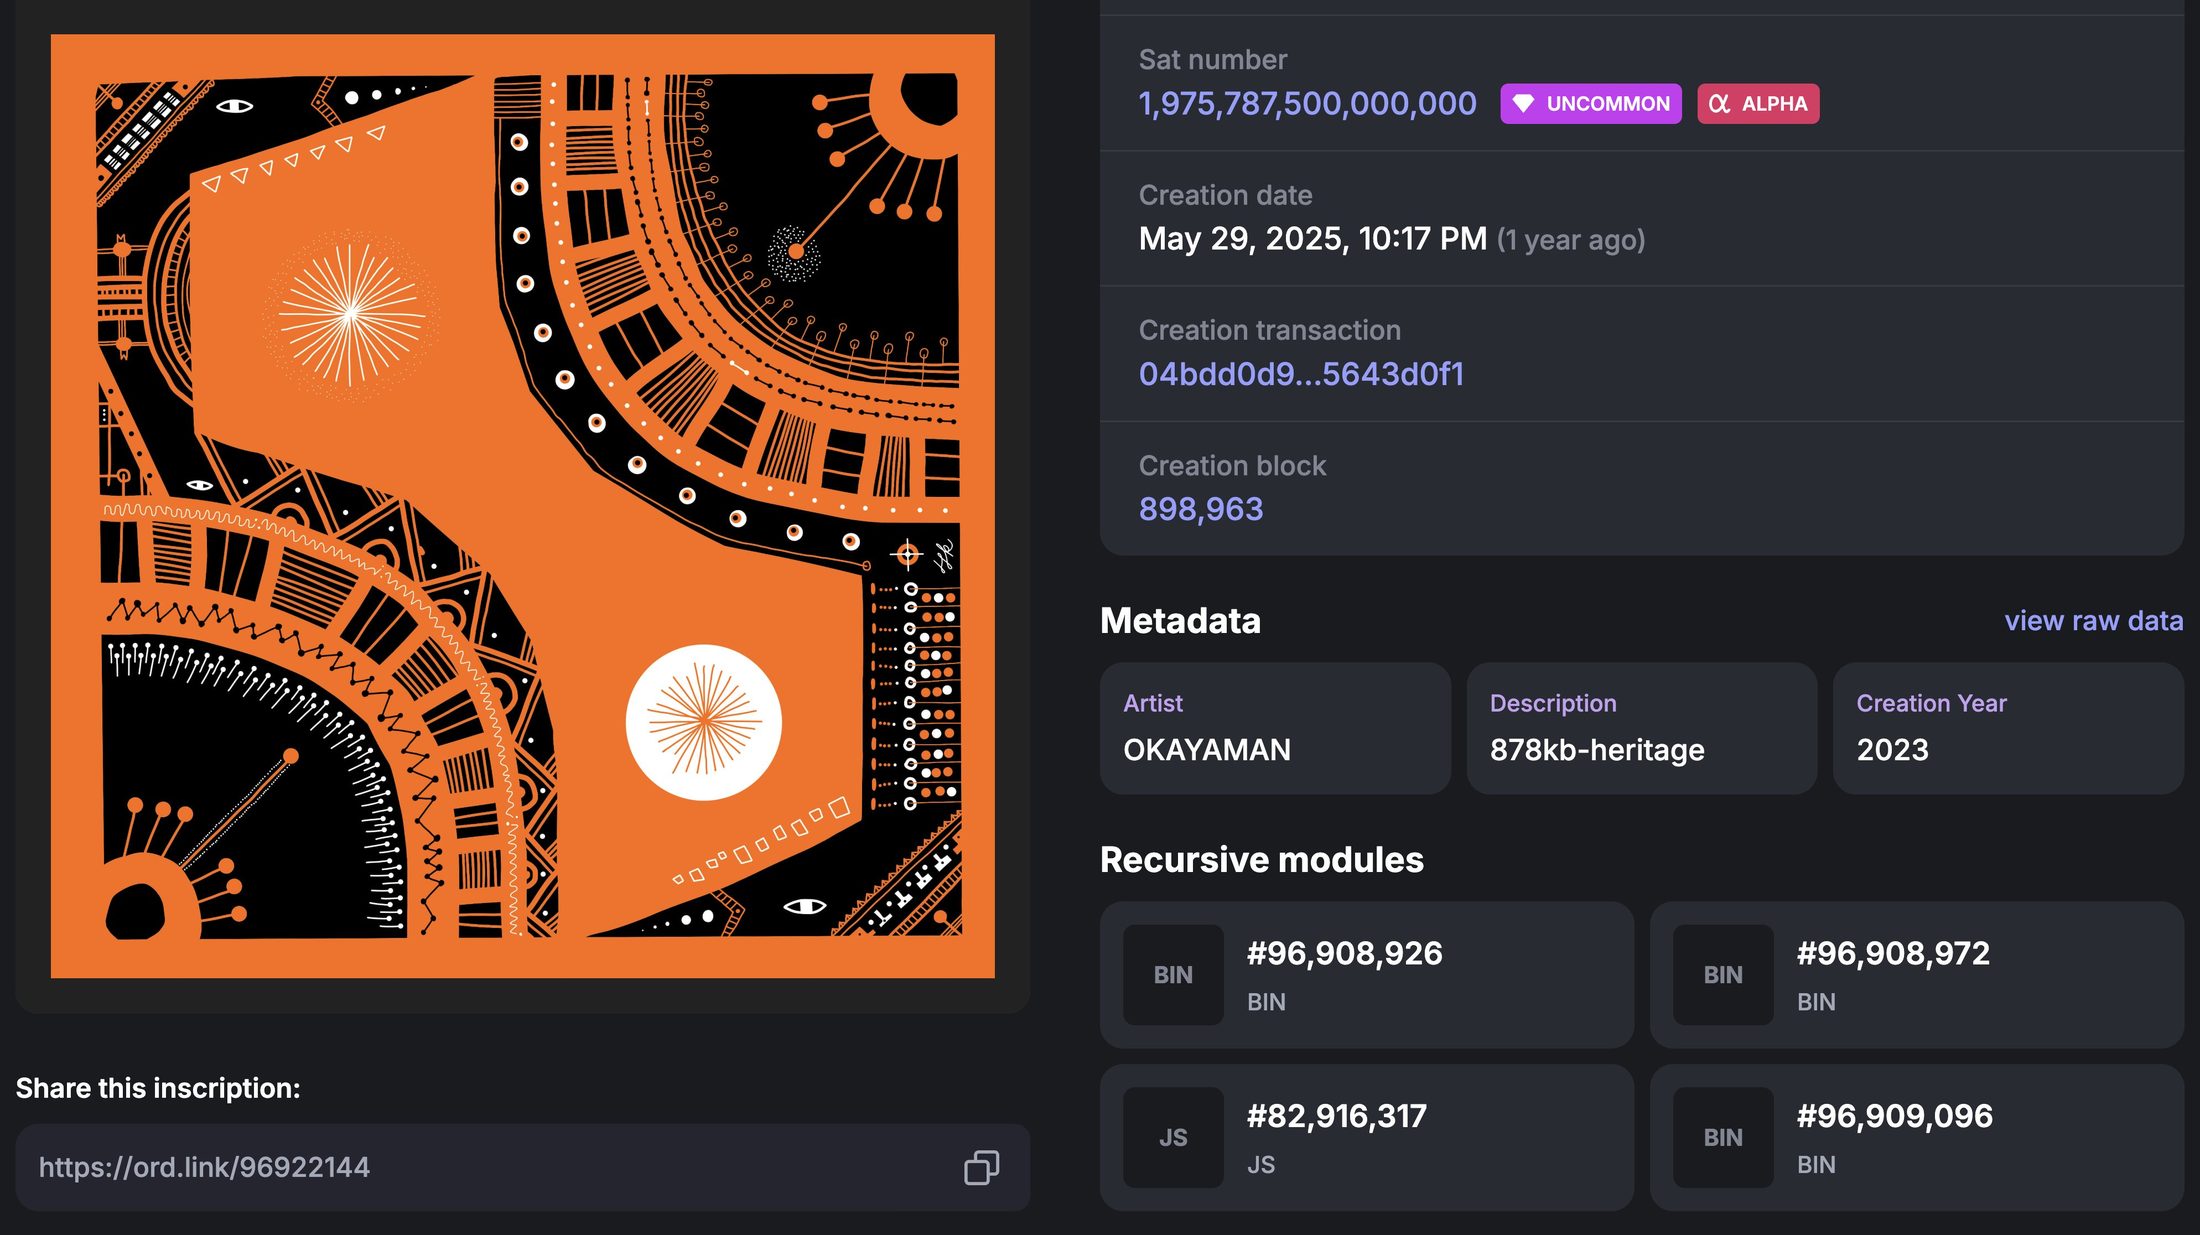
To adapt the template to your file, change the list of IDs and, for anything other than a webp image, the file type (FILE_TYPE) and sometimes the tag that shows it.
A GIF is still an image, so only the file type changes ("image/gif"). For a video, the file type becomes "video/mp4", and <img id="media"> becomes <video id="media" controls></video>. Audio works the same way with "audio/mpeg" and <audio id="media" controls></audio>. Every file type has a label of this kind ("application/pdf", "font/woff2", etc.), and browsers can show some of them directly. For the others, like a 3D model or a piece of software for instance, the reassembly part is the same, but the rebuilt file then needs extra code that knows what to do with it.
Below is another example, meant for a stitched video with autoplay, muted at start, playing on repeat, using binary data fragmentation:
<!doctype html>
        <html>
        <head>
        <meta charset="utf-8">
        <meta name="viewport" content="width=device-width,initial-scale=1">
        <style>
          html,body{margin:0;background:#000}
          #media{display:block;width:100vw;height:100vh;object-fit:contain}
        </style>
        </head>
        <body>
        <video id="media" controls autoplay muted loop playsinline></video>
        <script>
        const FILE_TYPE="video/mp4";
        const FRAG_IDS=[
          "<FRAGMENT_ID_0>",
          "<FRAGMENT_ID_1>",
          "<FRAGMENT_ID_2>",
          "<FRAGMENT_ID_3>",
          "<FRAGMENT_ID_4>"
        ];

        const load=id=>fetch(`/content/${id}`).then(r=>r.arrayBuffer());

        Promise.all(FRAG_IDS.map(load)).then(fragments=>{
          const file=new Blob(fragments,{type:FILE_TYPE});
          document.getElementById("media").src=URL.createObjectURL(file);
        });
        </script>
        </body>
        </html>
Worth mentioning: brotli compression is supported on Ordinals. ord can compress an inscription's content at the time of inscribing (some inscription services have it as an option). It's a lossless compression, like a zip file, so it won't make your images, video or audio any lighter, but for text, code and uncompressed data, the file size can shrink by 70% or more, which means a single sub-400 KB inscription can contain well over 1 MB of data. This is how @Ninjalerts managed to rebuild a 6 MB N64 emulator from only four inscriptions for Pizza Ninjas.
Preparing the fragments
Any tool that cuts a file into pieces will work:
- Image tiles: Photoshop's Slice tool or GIMP's "Slice Using Guides" can export an image as tiles (convert them to webp afterwards if needed). Or use any online slicer/splitter such as https://pinetools.com/split-image .
- GIF: online tools such as https://ezgif.com/split extract every frame of a GIF as separate images.
- Video: any video editor can export a video as a series of short clips or a sequence of individual frames. Also https://ezgif.com/video-to-png .
- Binary parts: I recommend using https://pinetools.com/split-files or similar. The OpenOrdinal tool does it as well.
- An AI assistant can also do any of the above for you.
For those comfortable with a terminal, most of these are a one-line command (you might have to install ImageMagick or FFmpeg).
- Tiles, here 3 columns by 4 rows. Tiles are numbered in reading order, which is the order expected by the script. The image's width and height should divide evenly by the number of columns and rows.
-quality 90 sets the webp compression, from 0 to 100, with lower values giving lighter files. For lossless tiles, replace it with -define webp:lossless=true, and for another format simply change the extension at the end.
magick artwork.png -crop 3x4@ +repage -quality 90 tile_%02d.webp- Binary parts of 360 KB, named in order. 360 KB leaves room for the inscription envelope under the 400 KB limit. Works for any file type. (macOS & Linux)
split -b 360k artwork.webp part_- Frames from a GIF:
magick animation.gif -coalesce frame_%03d.webp- Frames from a video:
ffmpeg -i video.mp4 -f image2 -c:v libwebp -quality 90 frame_%04d.webpAll of these commands have to be run in the folder that contains your file, because the fragments are created next to it. Don't forget to replace artwork.png, artwork.webp, animation.gif, video.mp4 by your actual file's name.
Whatever the tool, always check that every fragment is under 400 KB before inscribing (or <360-380 KB to be on the safe side), and adjust quality, tile count or fragment size if you need. Pick the quality by looking at your heaviest tile, not the average!
It's also worth testing the whole thing before inscribing anything: rejoin your binary parts and check the file still opens, or load your tiles in the template locally, since nothing can be undone once it's onchain.
Strategic and technical considerations
Intent and control: How many fragments are ideal? Will smaller tiles benefit the project creatively or distribution-wise? Do I need to have control over specific parts of the image? Does the code do anything beyond stitching?
File optimisation: Trial and error is essential. I realised that compressing the full image before slicing rather than compressing the individual tiles usually gave me better results and avoided any visible seams between tiles. Just make sure your slicing tool saves the tiles losslessly or at a high quality setting. Heavily compressing individual tiles will likely result in seams. In terms of format, webp or avif are usually preferred, but choices depend on your content.
Costs: Inscribing on Bitcoin is data dependent, more bytes means more sats. Sliced or not, the amount of data to inscribe remains pretty much the same. Every choice in the process (compression, size, number of files, etc) affects the final costs, which are based on the total size of all fragments and code files.
HTML viewer planning: Should the image be centred or in the top left corner? Should it scale with the browser or remain fixed and possibly cropped? How should it behave inside an iframe? Should I enable downloads or add interactive features? Presentation choices influence the audience's experience.
In the templates above, presentation is decided inside <style>. There are three main options you can work with:
- Fill the window (used above): centred on black and scaled to fit any window. It's what behaves best everywhere in my experience, though a small image will look blurry when stretched on a big screen.
html,body{margin:0;background:#000}
canvas{display:block;width:100vw;height:100vh;object-fit:contain}- Fit without enlarging: same, but never bigger than its native size.
html,body{margin:0;height:100%;background:#000}
        body{display:grid;place-items:center}
canvas{display:block;max-width:100vw;max-height:100vh}- Native size: pixel for pixel from the top left corner, with scrollbars if needed. Inside small iframes you might only see a corner.
html,body{margin:0;background:#000}
        canvas{display:block}
In all three cases the image keeps its full resolution. Scaling only affects how it's displayed, not the downloaded file.
(The options above are written for the tile viewer code. In the binary viewer, the last line should start with "#media" instead of "canvas". These lines only matter for files that are shown on screen; for a font, a program or a data file there is nothing to display, so they don't apply.)
What can go wrong
Compression variability: Fragments compress unevenly depending on their visual complexity. Highly detailed tiles can unexpectedly go beyond 400 KB. In my own experience with past works, I had to choose between inconsistent compression across tiles or recompressing the entire work from scratch many times (I chose the latter). Custom scripts helped me determine the best parameters during testing, and automate that research phase.
Inconsistent viewer behaviour: Centring, scaling, padding, overflow, and iframe constraints vary from one platform to another. Most block some functions such as downloads, for obvious security reasons. So a stitched piece may display inconsistently unless you test it in different environments. I avoided several mistakes this way, which would have ended up irreversibly part of my provenance tree, forever... I highly recommend onchain testing.
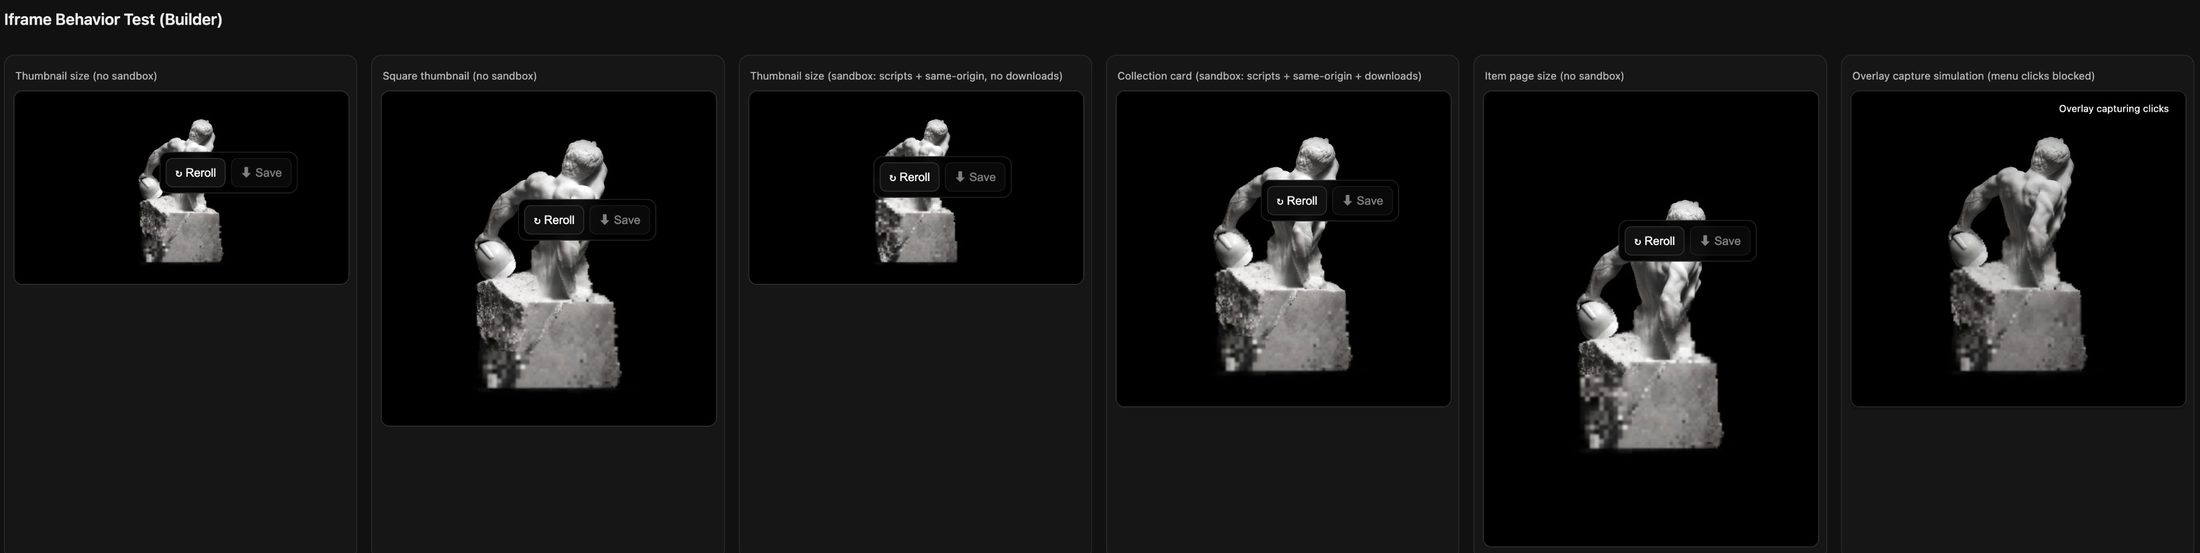
Performance issues: Projects with many tiles, per-tile adjustments (filters, transformations, randomisation), or recursive calls nested inside other recursive calls, can introduce loading lags or errors. Very large canvases might also crash on older devices or mobile. Accessibility is something to keep in mind when you work with large files, there's a fine line between wanting top quality, and not requiring the highest hardware specs to view it.
The hidden cost of iteration: This process takes time, especially for someone who isn’t a developer and works in a more experimental or intuitive way. Slicing, recompressing, testing, reinscribing if needed, it all adds up. Existing libraries and AI agents help, but in the end you have to spend the time with it to understand it.
Automation / optimisation / tooling:
Open-source recursive images library by Ordlify/Oviato, also inscribed onchain:
https://github.com/OviatoHQ/recursives
https://ordinals.com/content/0d6b93e99a715e67abdc917428dc135bd824aa1c918766f95fa263a2648fff01i0
Binary fragmentation and stitching tool by OpenOrdinal, also inscribed onchain:
https://github.com/open-ordinal/open-ordinal-stitch
https://ordinals.com/content/a196634768a6a715779fa8d513b65b8d2099defc2bd09c36dccbf54ffdd04022i0
File optimisation / Compressionism resources:
https://squoosh.app/
https://blog.gamma.io/compressionism
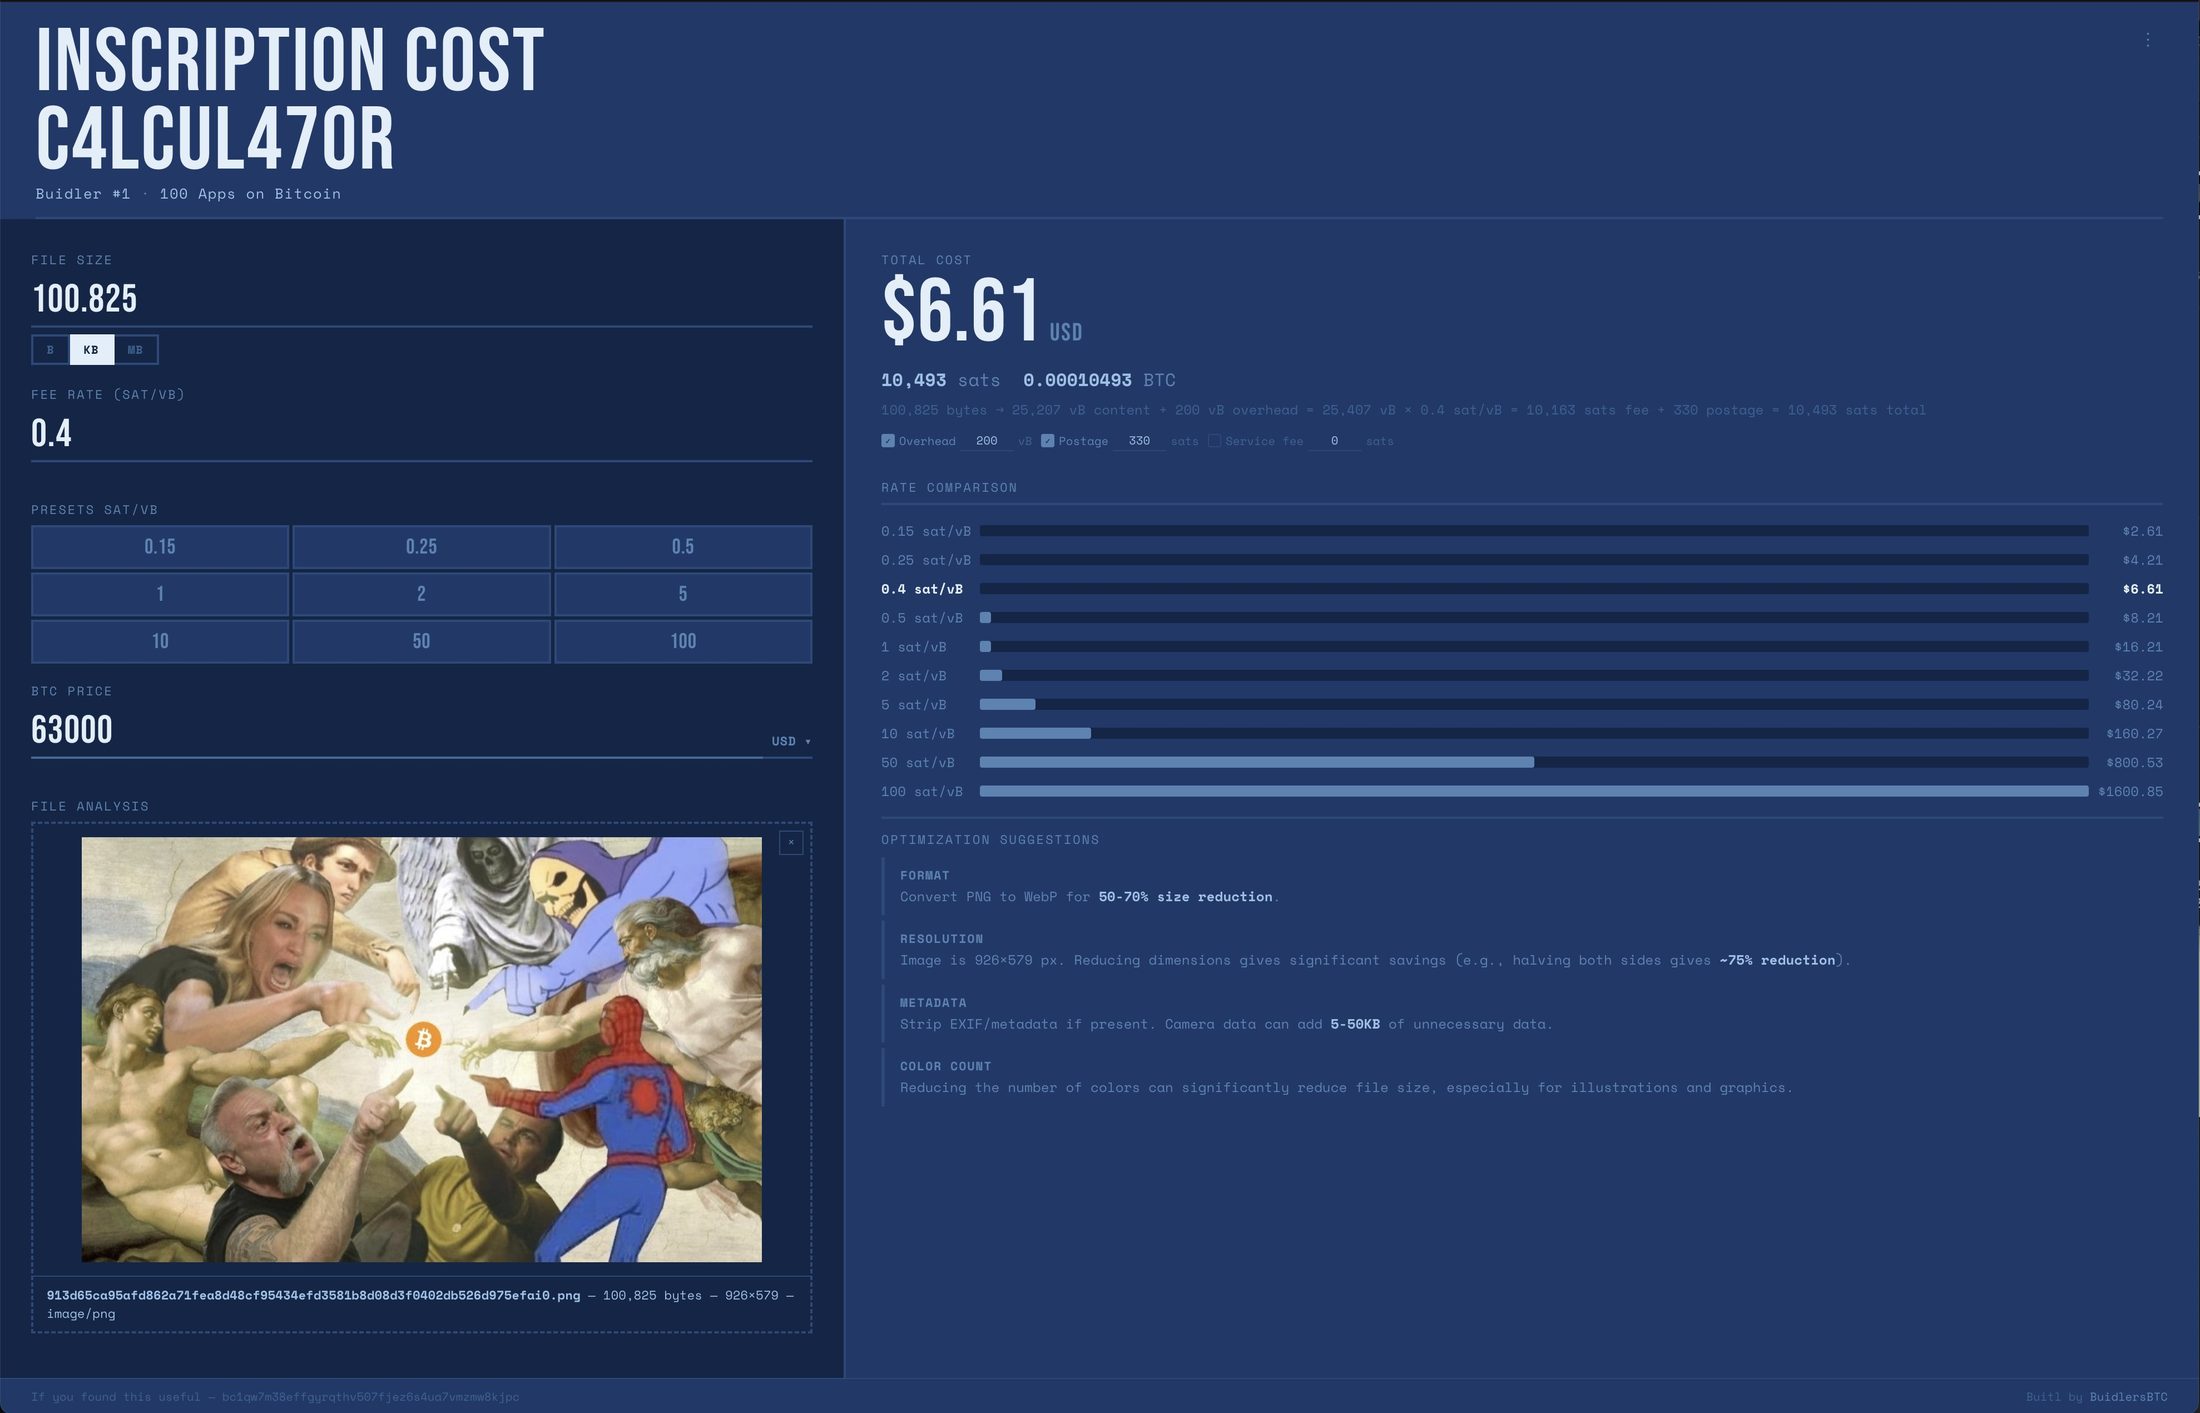
Inscription cost calculator and compression suggestions, by @BuidlersBTC:
https://buidlersbtc.com/apps/inscription-cost-c4lcul470r
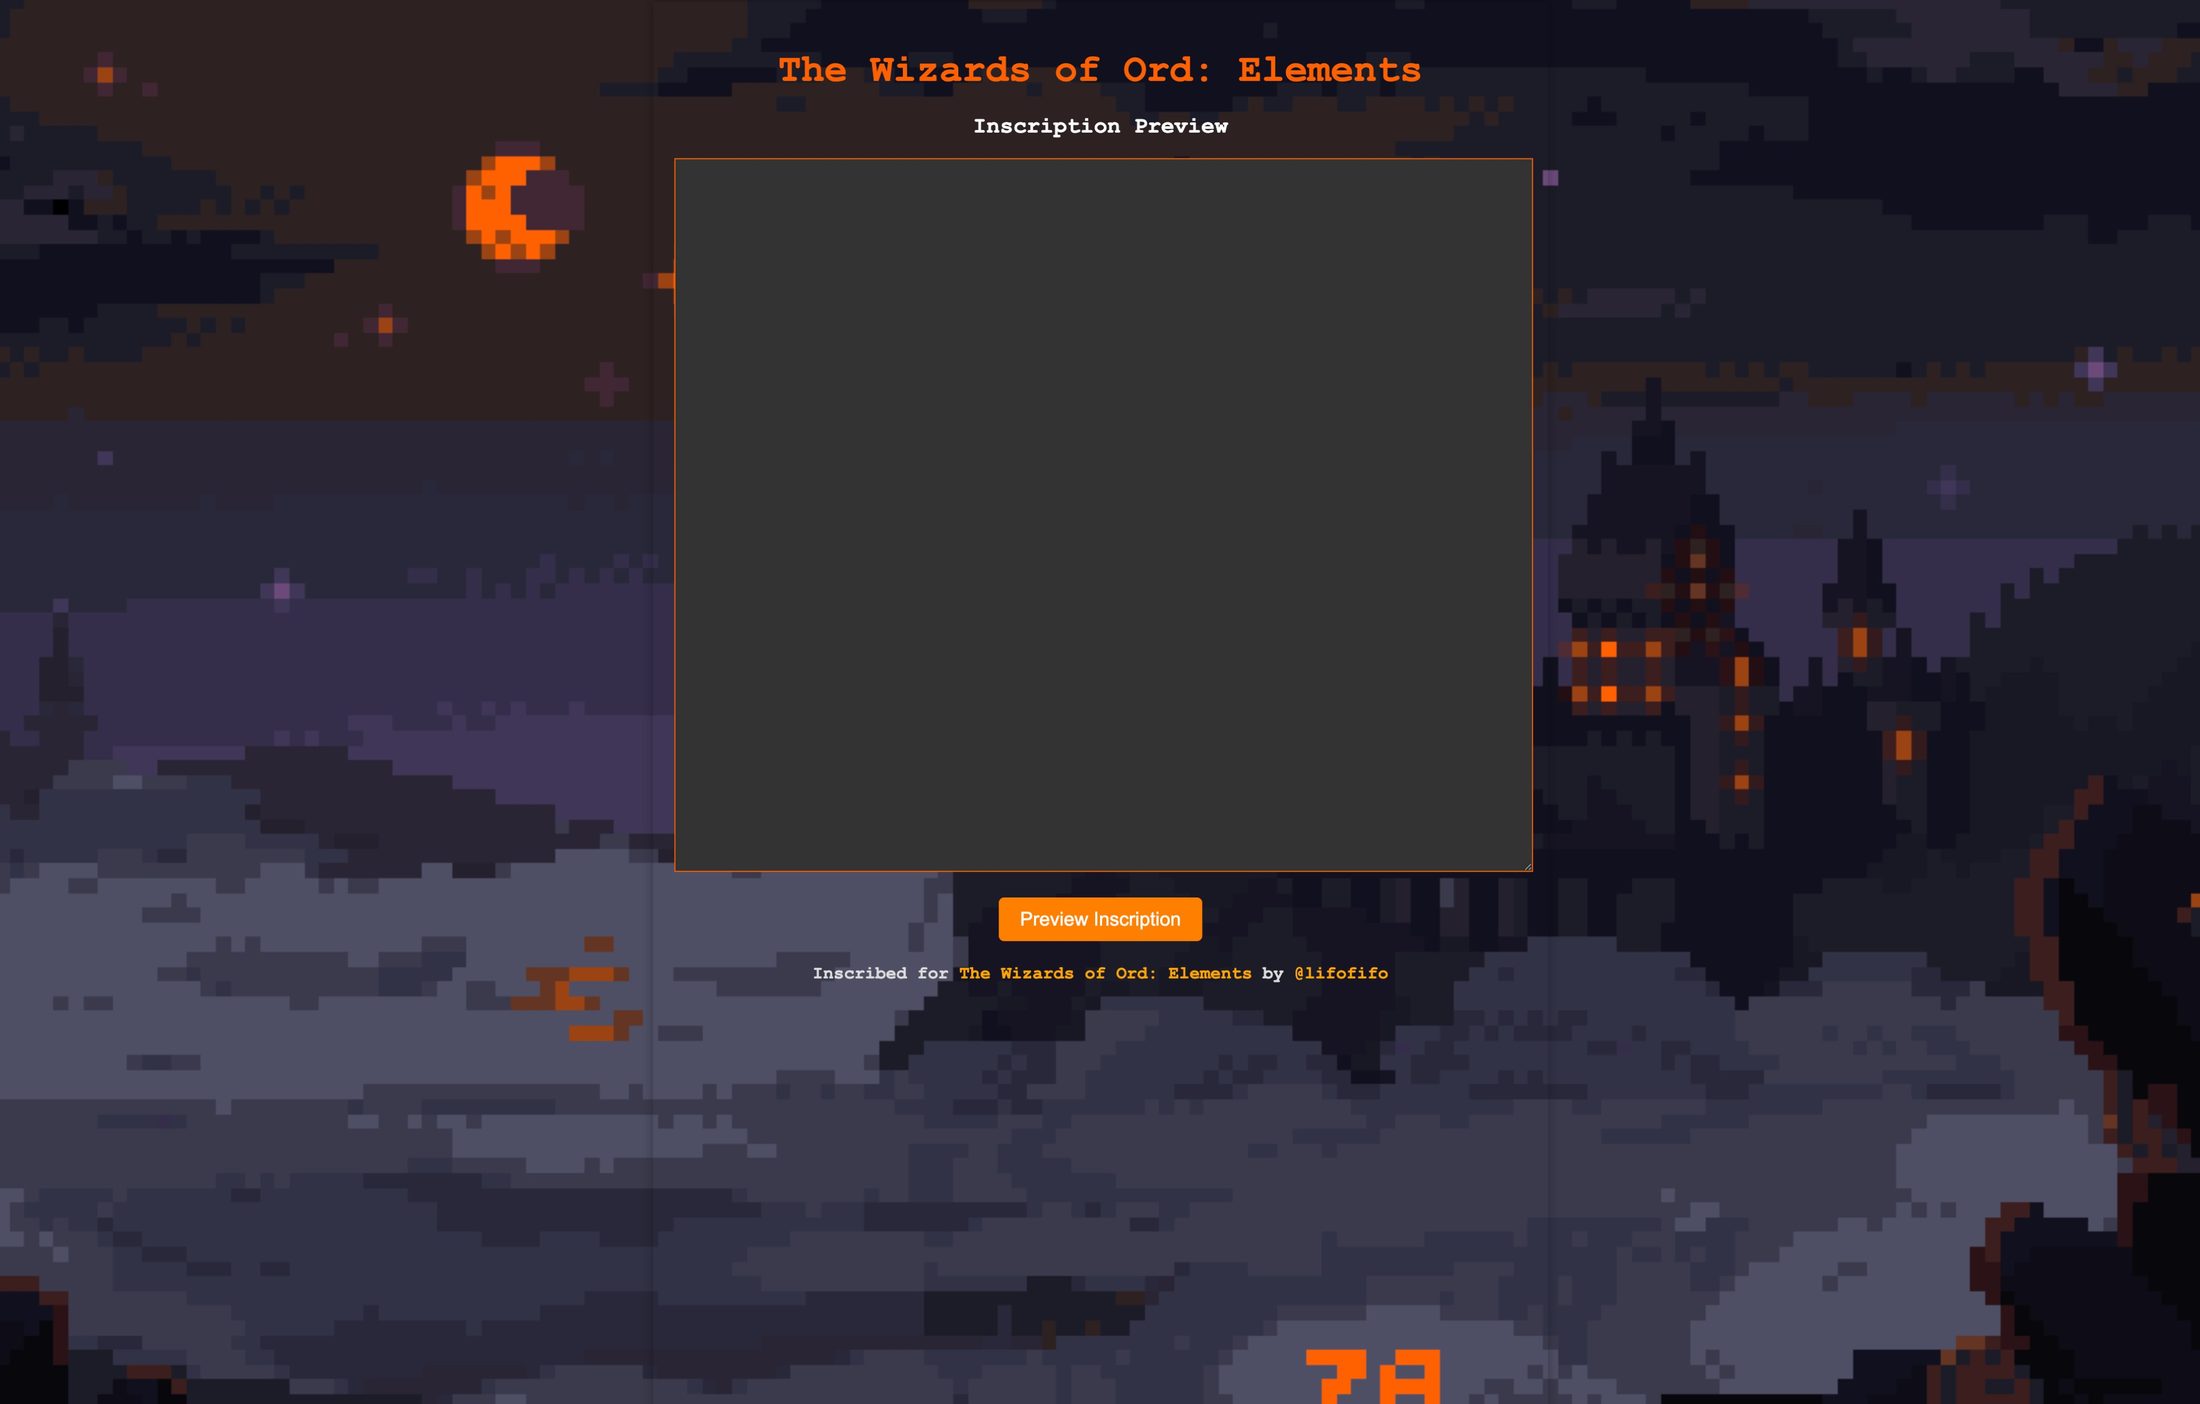
Onchain inscription test preview tool, by @TheWizardsOfOrd:
https://ordinals.com/content/c24b53e7733d72a8662676bd2067fa7e715fa5c2ea614b7727da9787def47aeai0
(Simple test: take one of method A's templates, replace the IDs with any image inscriptions and paste the code in the preview tool. That will give you a quick sense of how it works!)
While these tools can help, they rely on third party builds that may have some limitations. Custom code is the best way to have full control over every aspect of the process.
Outlook
The stitching approach offers immense freedom. It can help with simple reconstruction, but also creative manipulation per fragment, or more ambitious data-heavy projects. Potential applications include preservation of high res photography, scans, paintings, but also long form video, high fidelity audio, onchain software, or even LLMs, eventually.
Large scale inscriptions remain rare, I think mainly because of the lack of accessible tooling. But I've observed a growing understanding of the method, from early experiments to recent applications, and an increasing will to preserve work in high quality, as artists and collectors get a better grasp of the medium and what its permanence implies.
The next step may be cultural rather than technical. Recursive or stitched works are not gimmicks. They're thoughtful acts of preservation. Few artists adopt large inscriptions due to cost, yet in low fee periods this approach becomes viable again. It's worth revisiting, especially for works defined by detail and scale. Bitcoin offers permanence unlike any other medium, and fidelity should reflect that permanence where possible.
🪡
References and early examples
- Prelude in A Major by @patrick99e99
https://medium.com/@patrick99e99_18519/how-to-put-large-media-files-on-bitcoin-with-recursive-ordinal-inscriptions-4931ae22f71d
https://ordinals.com/preview/86a4d2e0071932d0429445fe645110713da509e49d19f9482ef1e1d0f3eb62bdi0
MP3 fragment stitching + interactive display. - Ordo Sanctus by Luxas/@sanctuariumdapp https://ordinals.com/inscription/13983319
Six MP3 clips merged into one full-length track + modular onchain player. - Metablocks by @billyrestey
https://x.com/billyrestey/status/1678593975366864903
https://ordinals.com/inscription/16167023
Early use of tiled/stitched high res rendering. 400 tiles for a 6.19 MB image. - Print Cover by @BitcoinMagazine
https://bitcoinmagazine.com/culture/bitcoin-magazine-print-cover-recursive-ordinal-inscription
https://ordinals.com/inscription/26727370
From 20 tiles to a 1.6MB high res image onchain. - Recursive images library by @OvifunHQ/@OviatoHQ
https://x.com/OviatoHQ/status/1685302384967430149
https://github.com/OviatoHQ/recursives https://ordinals.com/content/0d6b93e99a715e67abdc917428dc135bd824aa1c918766f95fa263a2648fff01i0
https://ordinals.com/inscription/e63d27160022b93ef3f720d37141d40e976658f8b362133b8b838ae2b6cce4a5i0
Open-source tile stitching library inscribed onchain + 27 MB stitched image example. - Les Petites Morts by @XSULLO
https://x.com/XSULLO/status/1707012697177367020
https://ordinals.com/children/0eca6ec98f4872106c9e21570c8c1246aabfb65140ea2d09250927b83eae7ae2i0
High res GIF collection (NSFW). - Testnet high res video experiment by @vickirov
https://x.com/vickirov/status/1720861206318096879
https://gist.github.com/victorkirov/06bf7b800bf8f5df39c51cf11b61cdad
Stitched binary data + technique walkthrough. - Time Perception by @Elocremarc
https://x.com/Elocremarc/status/1728603877526974486
https://ordinals.com/preview/700f348e1acef6021cdee8bf09e4183d6a3f4d573b4dc5585defd54009a0148ci0
1.1 MB high res video through binary data stitching. - Mother Libertas by @Dascanio_
https://x.com/_OrdinalStudio_/status/1728868391044227363
https://ordinals.com/inscription/fcf771dc5437e85988c4f6862e4eb26bc41eac2c55a6b3bd67bed6f814a1ea1bi0
2MB HD video art. - A New Dawn by @billyrestey
https://x.com/billyrestey/status/1729919812397363398
https://ordinals.com/preview/26c67ac27fd9e4c4340b251bbb81435a8477b2d4c28fe8d0e07c7b0a6fbca4c5i0
Another example of HD stitched animated art. - Onchain SNES emulator by @ninjalerts for @pizza_ninjas https://ninjalerts.gitbook.io/bitcoin-ordinals-pizza-ninjas/on-chain-snes
https://ordinals.com/inscription/53894692
https://ordinals.com/content/9ad43b591e58b23d8550dfdae431432b6ea3a7079d09ef80ee1554c5a3f8d543i0
4.2 MB software binary rebuilt from 12 compressed binary fragments, playable from the menu of any Pizza Ninja. - Onchain N64 emulator by @ninjalerts for @pizza_ninjas https://ninjalerts.gitbook.io/bitcoin-ordinals-pizza-ninjas/on-chain-n64
https://ordinals.com/inscription/61648429
6 MB software binary rebuilt from 4 compressed binary fragments. - The Wild Within by @ryankoopmans and @alicewexell
https://ordinals.com/inscription/57075036
https://ordinals.com/inscription/62575711
Day and night images stitched from four tiles each, blending with Bitcoin block time. - Fly Me To The Tiny Moon by @JenniferChengLo / @Tiny__Vikings
https://x.com/Tiny__Vikings/status/1890405625588248720
https://ordinals.com/inscription/5cce75ed86c0f1987988a893a1d85dd90d56a3a878e41d4a044fc4604cc15426i0
Another example of a video inscribed using stitching. - Stitch tool by @OpenOrdinal
https://x.com/OpenOrdinal/status/1882546849779007875
https://github.com/open-ordinal/open-ordinal-stitch
https://ordinals.com/content/a196634768a6a715779fa8d513b65b8d2099defc2bd09c36dccbf54ffdd04022i0
Open-source binary stitching library, inscribed onchain. - Impressions of Form & Non Finito by @BravoCosto
https://x.com/BravoCosto/status/1922315011243786721
https://ordinals.com/inscription/7e93ef2e035f1ef9ada3e29275dec4e30714336869a20e682215c173bfdeb29fi0
https://x.com/BravoCosto/status/1982954181448085556
https://ordinals.com/inscription/3831073835a7cff12b91deceeb125ad58888682e9b2a5496e81557efc11b3dd4i0
Tile stitching, onchain high res, interactive UIs. - Sun-Heron-Mask by @FKYNArt
https://x.com/FKYNArt/status/1956298730803507294
https://ordinals.com/inscription/96922144
An example of using the OpenOrdinal tool for binary stitching. - Recursion, Ordinal Theory docs
https://docs.ordinals.com/inscriptions/recursion.html